Create Strongly Typed View in ASP.NET MVC
In my previous article we discussed about basic Asp.Net MVC functionality with example. Today we discuss about how to create Strongly Typed View in Asp.Net MVC.
As we know Model means data class for functionality, we can create the view from the Model class. Lets create the view based on some Model class.
Open Microsoft Visual Studio 2013 => Create New Asp.Net MVC 4 application. Add some Employee Model class to Models folder as shown below.
namespace StronglyTypedView.Models
{
publicclassEmployee
{
publicint Id { get; set; }
publicstring Name { get; set; }
publicstring Email { get; set; }
}
}
Now right click on Index() action method and select Add View, it opens Add view window. In the Add View window select "Create a strongly-typed view" checkbox and enter Employee Model class name as shown below.

Now you can add input text box control for each property in Employee class by using HTML helper methods as shown below.
@model StronglyTypedView.Models.Employee
@{
Layout = null;
}
<!DOCTYPEhtml>
<html>
<head>
<metaname="viewport"content="width=device-width"/>
<title>Index</title>
</head>
<body>
<div>
@using (Html.BeginForm()) {
<p>Employee Id: @Html.TextBoxFor(x => x.Id) </p>
<p>Name: @Html.TextBoxFor(x => x.Name) </p>
<p>Email: @Html.TextBoxFor(x => x.Email) </p>
<inputtype="submit"value="Submit RSVP"/>
}
</div>
</body>
</html>
As you seen above, this view is strongly tied with Employee Model class by mentioning Employee model class by using @model tag.
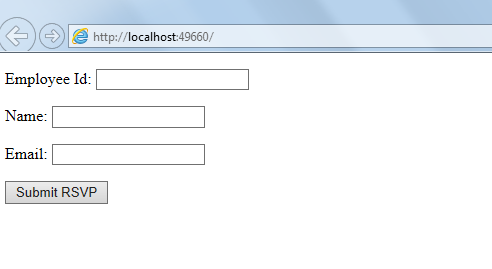
Run the application and the out put renders as data entry form as shown below.