Create Timer Trigger Azure Function using Visual Studio 2019
In my previous article, we discussed how to create Azure Timer Trigger Function directly in the portal. Today, we discuss how to create the Azure function by using Microsoft Visual Studio with the same example.
Open Microsoft Visual Studio 2019 => Create New Project and search for Azure Functions, name it as “AzureTimerTriggerFuncExp”.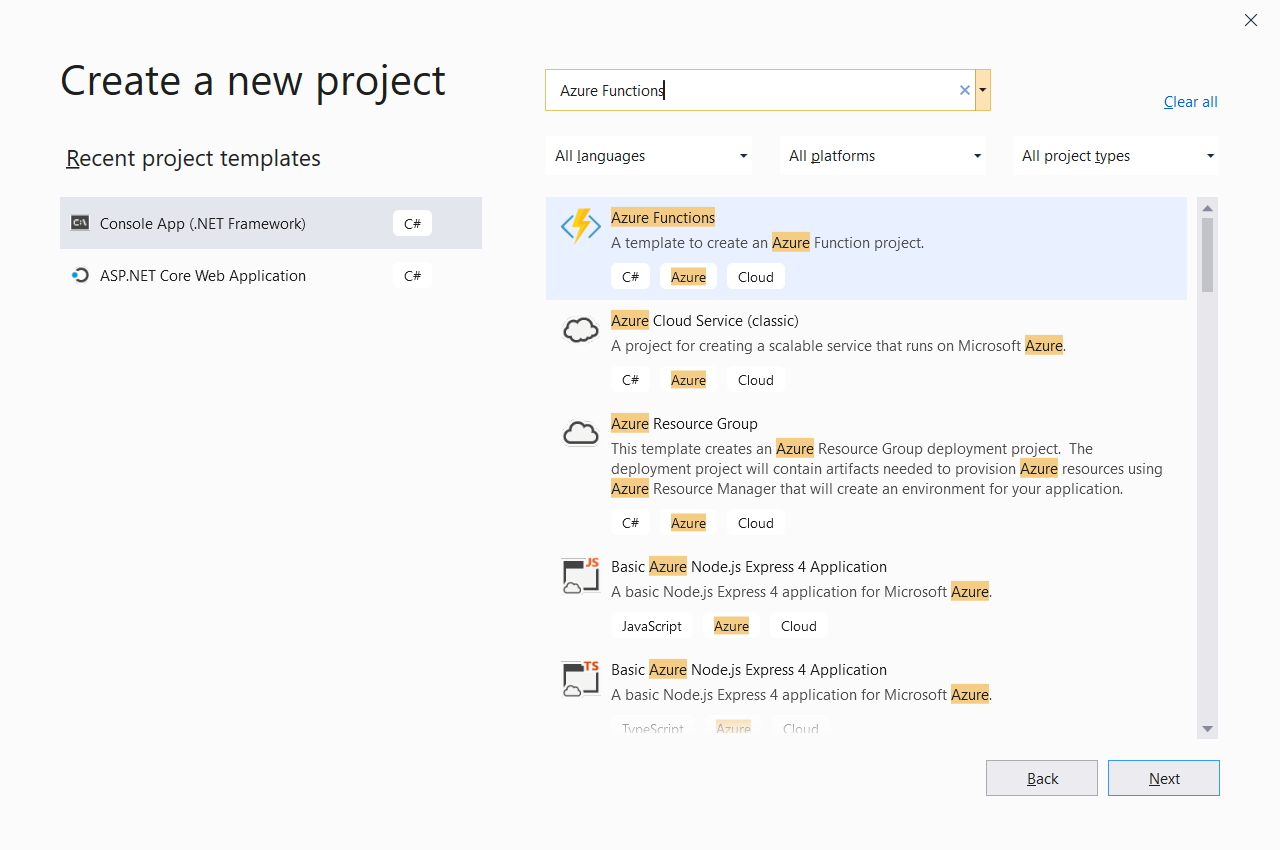
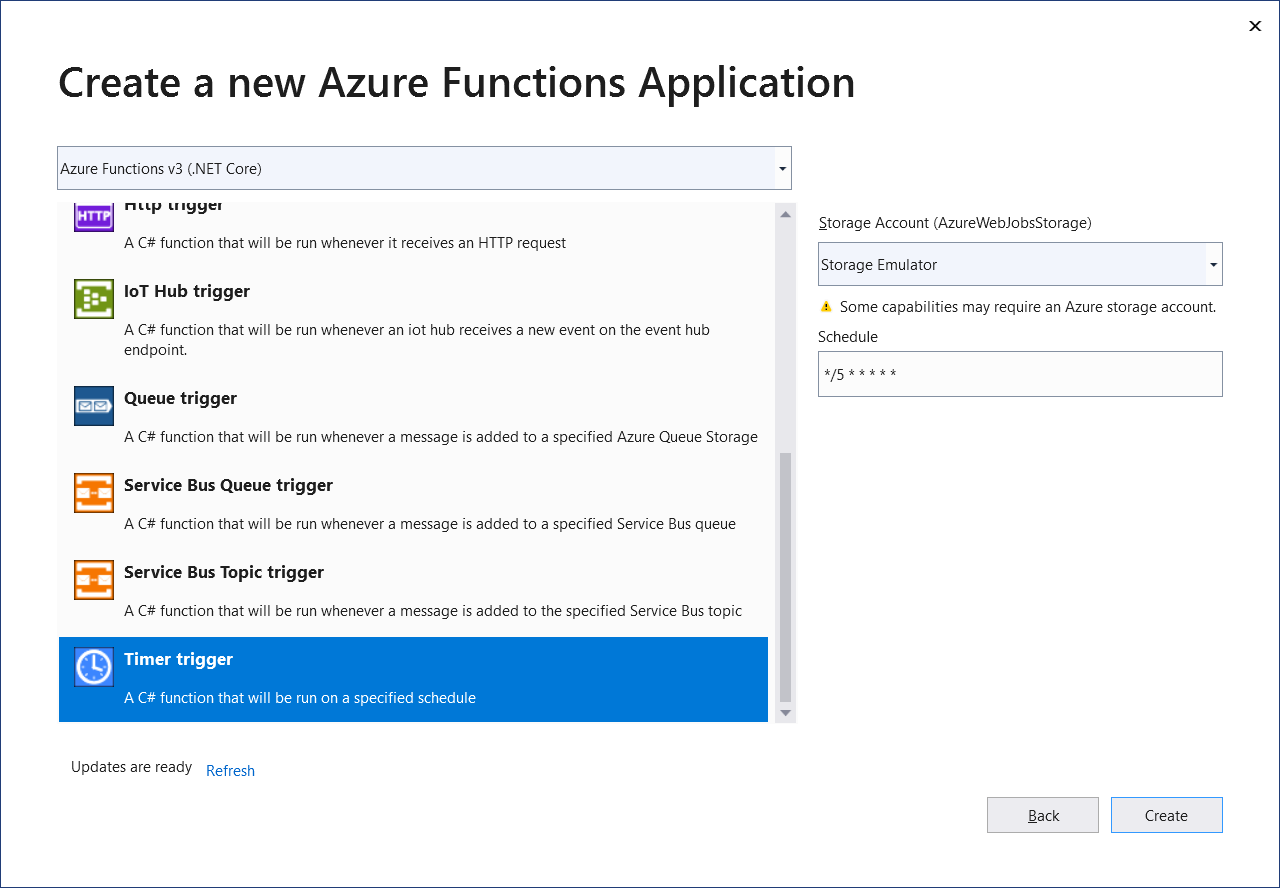
Select Timer trigger from available function types and enter schedule value as “*/5 * * * * *” to run the schedule the function to run for every five seconds.
By default, it contains below code.
using System;
using Microsoft.Azure.WebJobs;
using Microsoft.Azure.WebJobs.Host;
using Microsoft.Extensions.Logging;

namespace AzureTimerTriggerFuncExp
{
    public static class Function1
    {
        [FunctionName("Function1")]
        public static void Run([TimerTrigger("*/5 * * * * *")]TimerInfo myTimer, ILogger log)
        {
            log.LogInformation($"C# Timer trigger function executed at: {DateTime.Now}");
        }
    }
}
Remove the default code inside the Run() method and copy the code from the previous article as shown below.
using Microsoft.Azure.WebJobs;
using Microsoft.Extensions.Logging;
using Microsoft.WindowsAzure.Storage;
using System;
using System.IO;
using System.Text;

namespace AzureTimerTriggerFuncExp
{
    public static class Function1
    {
        [FunctionName("Function1")]
        public static void Run([TimerTrigger("*/5 * * * * *")]TimerInfo myTimer, ILogger log)
        {
            string storageAccntConnection = "please enter your storage account connection string here";
            string blobFileName = @"blobTestFile.txt";

            var storageAccnt = CloudStorageAccount.Parse(storageAccntConnection);

            var blobClient = storageAccnt.CreateCloudBlobClient();

            var container = blobClient.GetContainerReference("techblobcontainer");

            var blob = container.GetBlockBlobReference(blobFileName);

            using (MemoryStream ms = new MemoryStream())
            {
                blob.DownloadToStreamAsync(ms);
                byte[] timeBytes = Encoding.UTF8.GetBytes(DateTime.Now.ToString() + Environment.NewLine);
                ms.Write(timeBytes, 0, timeBytes.Length);
                ms.Position = 0;
                blob.UploadFromStreamAsync(ms);
            }
        }
    }
}
Above code will update the text file blobTestFile.txt with the current date time in the Azure storage. We need to create new Azure storage account in the portal, provide the storage connection string for storageAccntConnection variable and need to create techblobcontainer container. Upload text file blobTestFile.txt into the Azure container techblobcontainer. Please visit Microsoft Azure Blob Storage – Upload File using C# article for more details on how to create Azure storage account, how to create container, and how to upload the file into the Azure container.
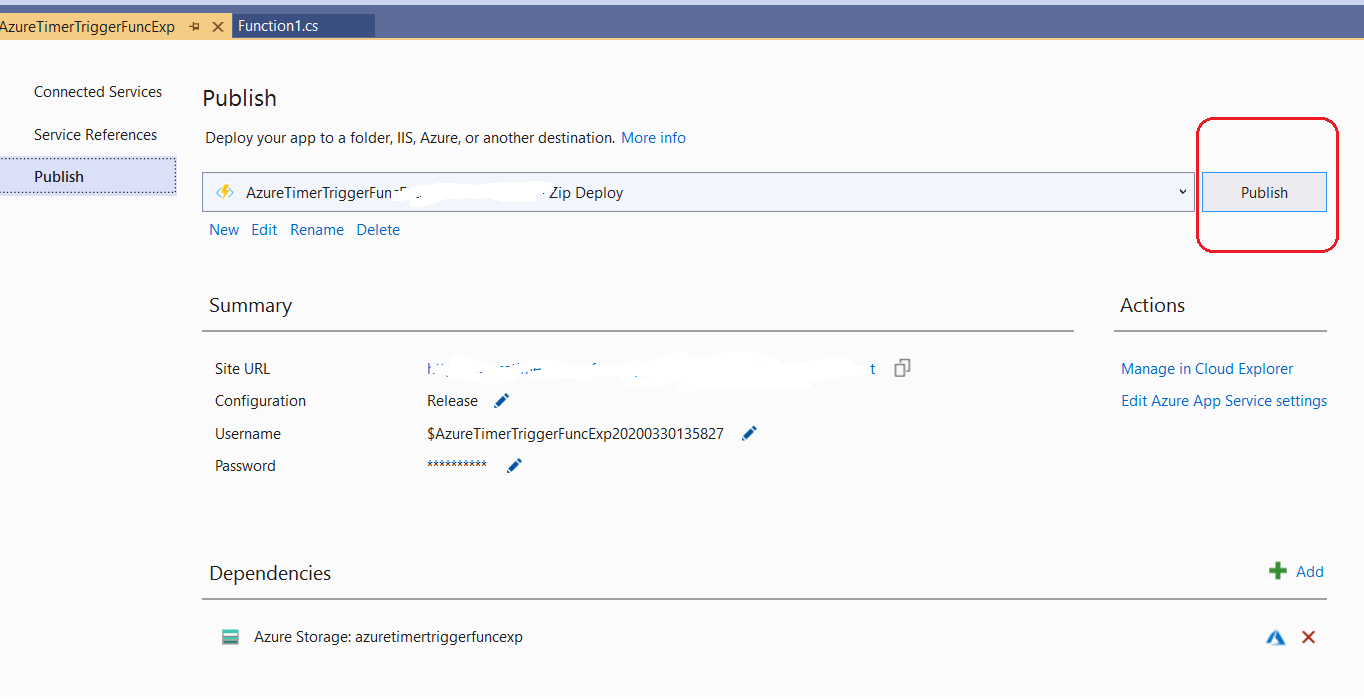
Build the AzureTimerTriggerFuncExp code and it is ready for deploying it into Azure portal. Right-click on the project and select Publish, select “Create New” option to create new profile. 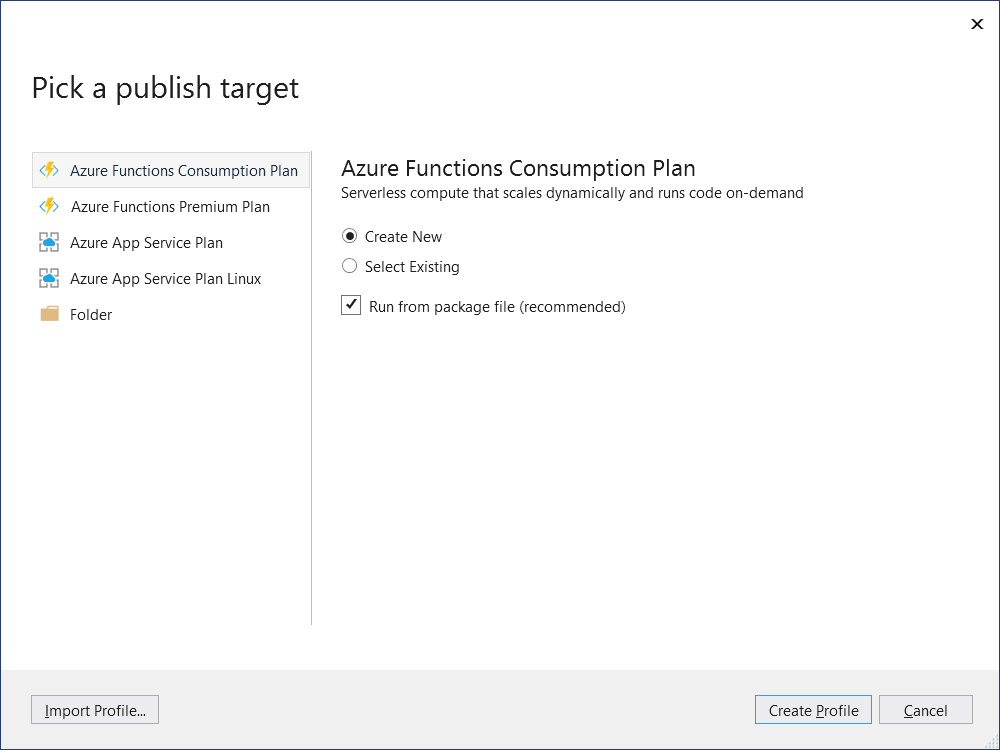
On Create New App Service window, login with your Azure account on top right-hand side. Enter all details for new App Service.
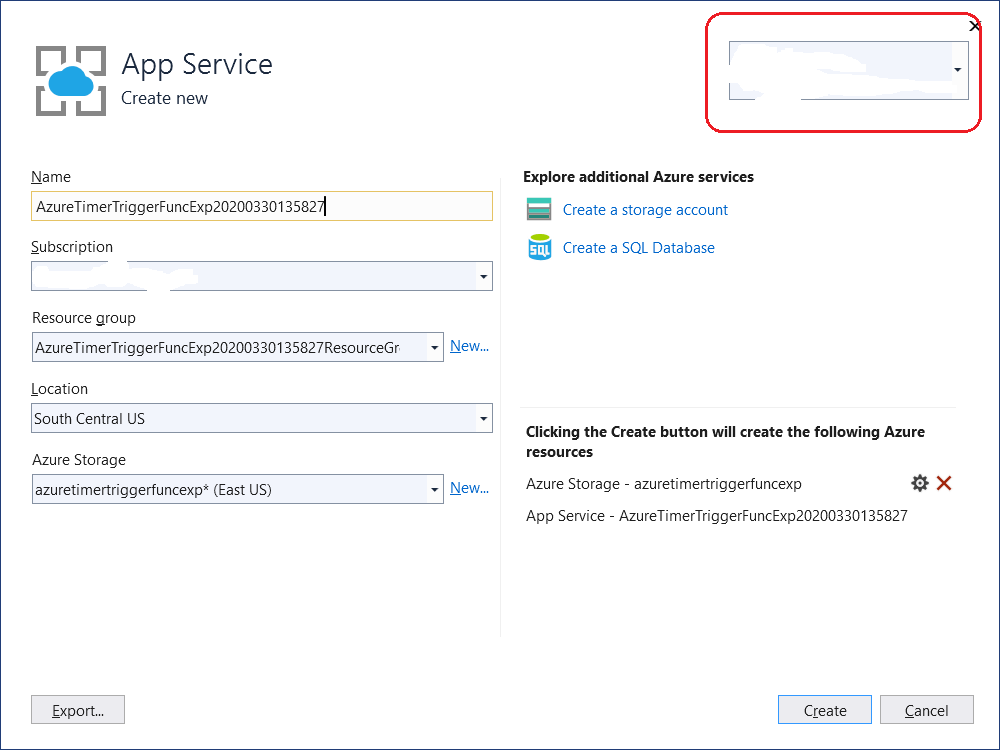
Click on Create button to create the Function App Service in the Azure portal. Once it is created, click on Publish button to publish your code to Azure portal.
After successfully publishing the code, go to Azure portal (https://portal.azure.com/) and login with your Azure account. Search for “Function App”, you can find our newly created function app under Function App.
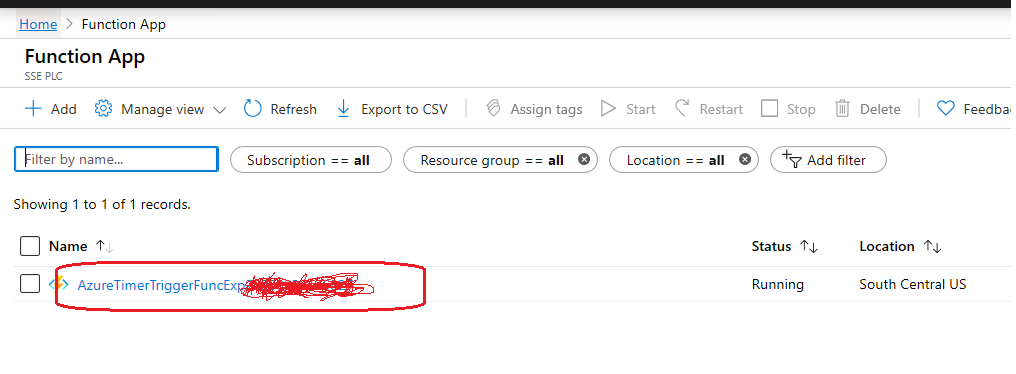
Click on the AzureTimerTriggerFunctionExp and you can find function Function1 which we created earlier.
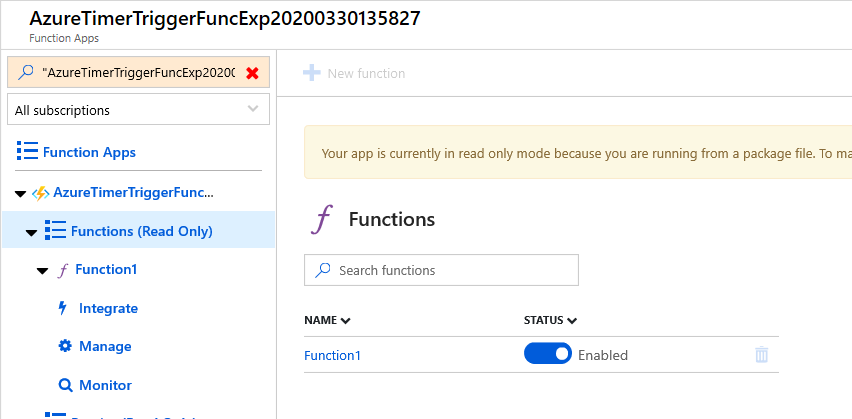
Select the function Function1 and run it.
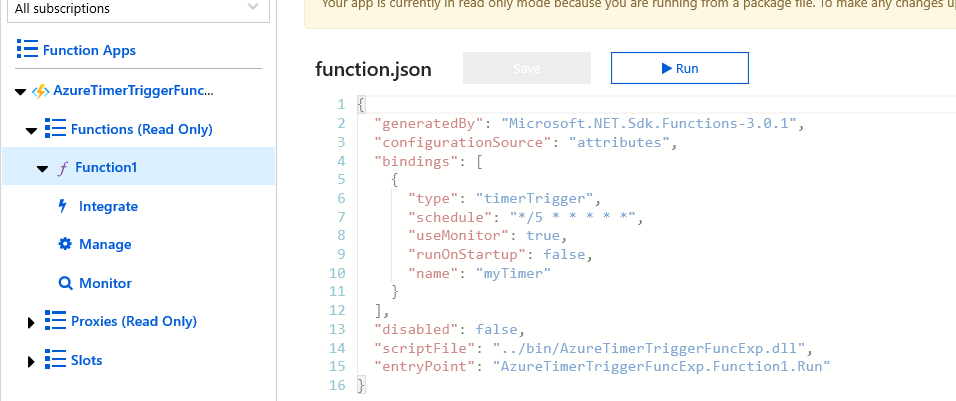
This function runs for every five seconds and updates the file with the current date and time in the blob container techblobcontainer.
