Create VM through Microsoft Azure Portal
This article discusses how to create VM directly from the Azure Portal by considering all critical aspects. Login to http://portal.azure.com/ with your Azure credentials; if you don’t have Azure, you can create a free account which is valid for 30 days.
Select the Virtual Machines option on Azure Portal, as shown below. 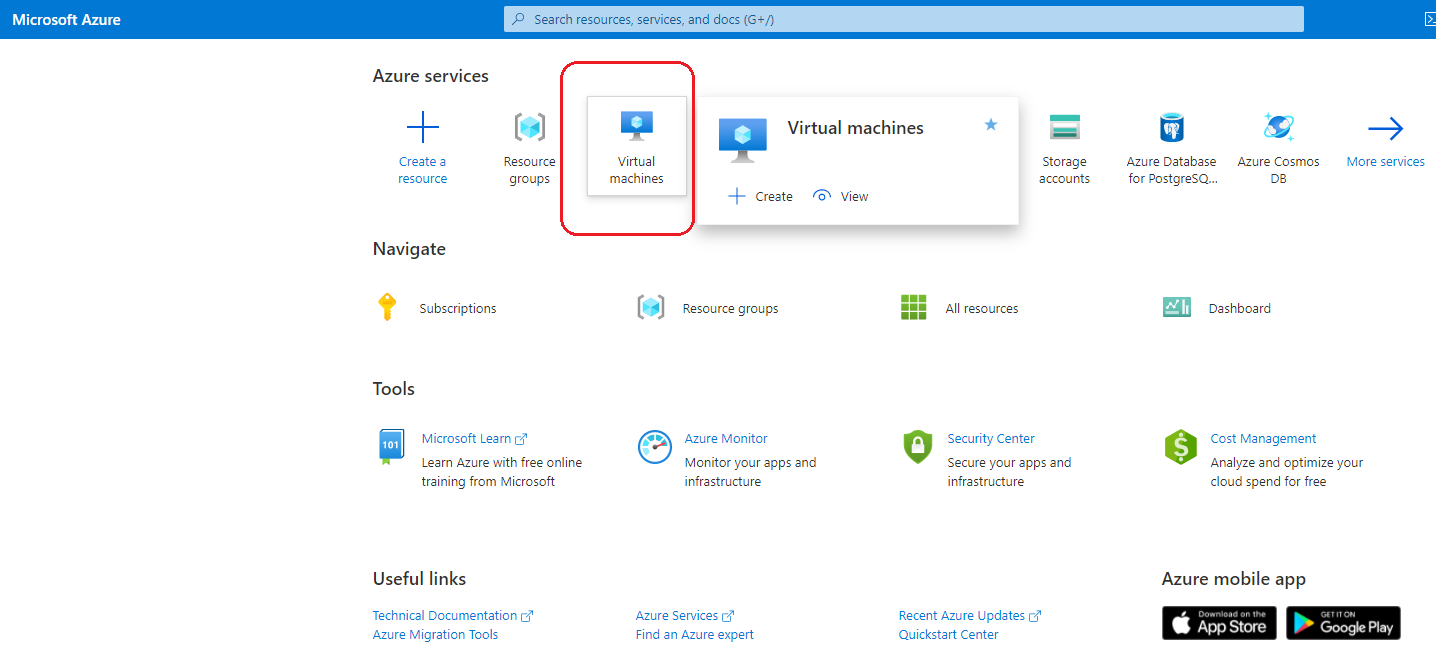
Add a new VM by selecting Virtual Machine from the Add list.
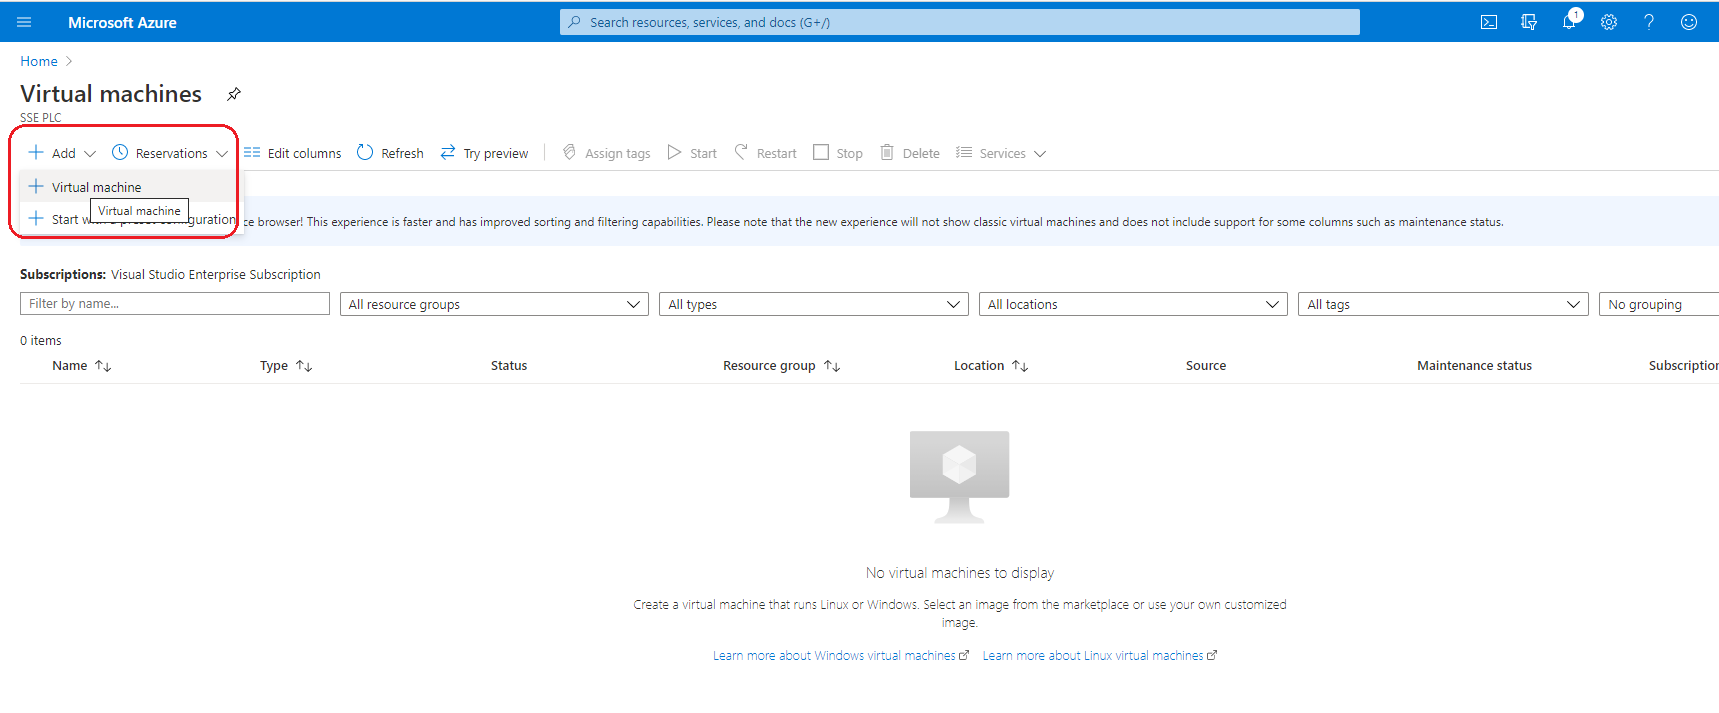
Here, you have to enter all key aspects, including OS.
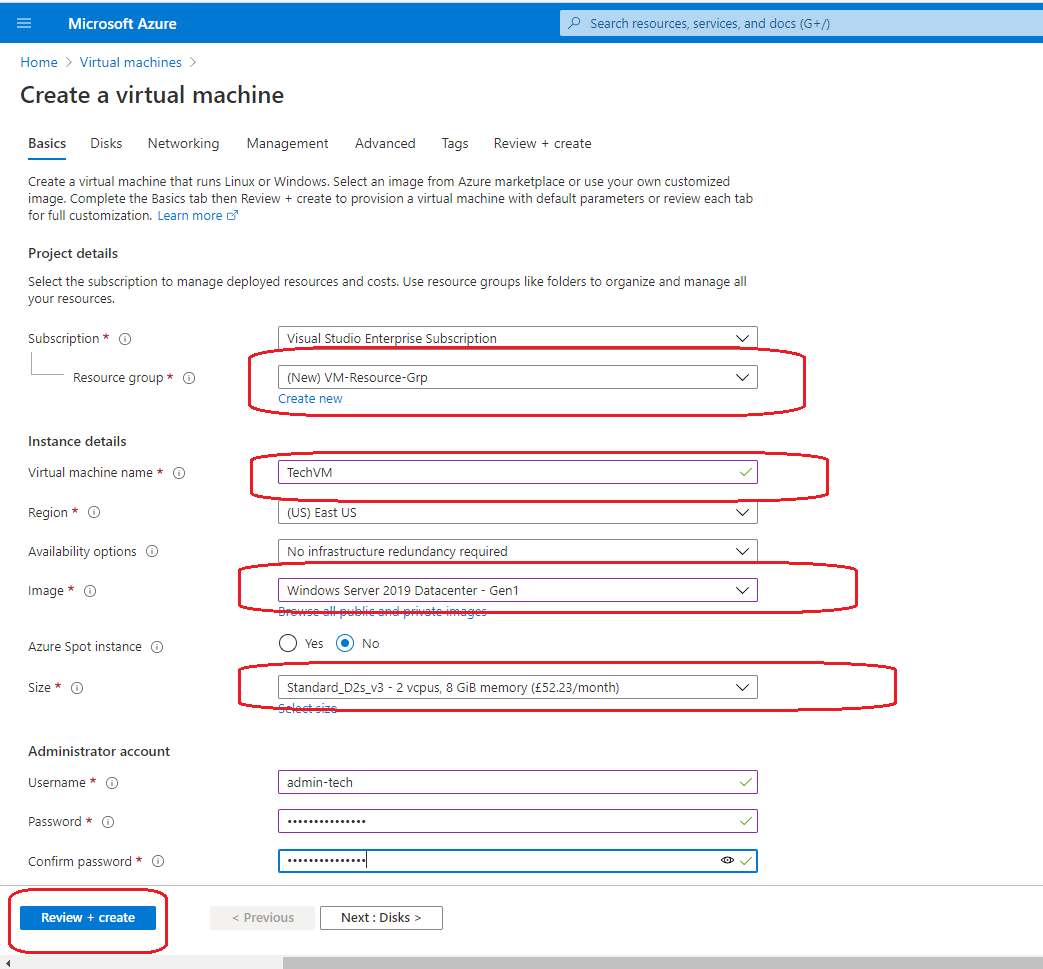
Select the resource group if you have an existing one; otherwise, create a new resource group by clicking on “Create new”. Enter VM name (here I have entered it as TechVM), select Region & OS Image ( I have selected Windows Server 2019 Datacenter – Gen1). Select the VM Size depending on your requirement (I have chosen here as “Standard_D2s_v3 - s vcpus, 8 GB memory”). Enter administrator login details for your VM.
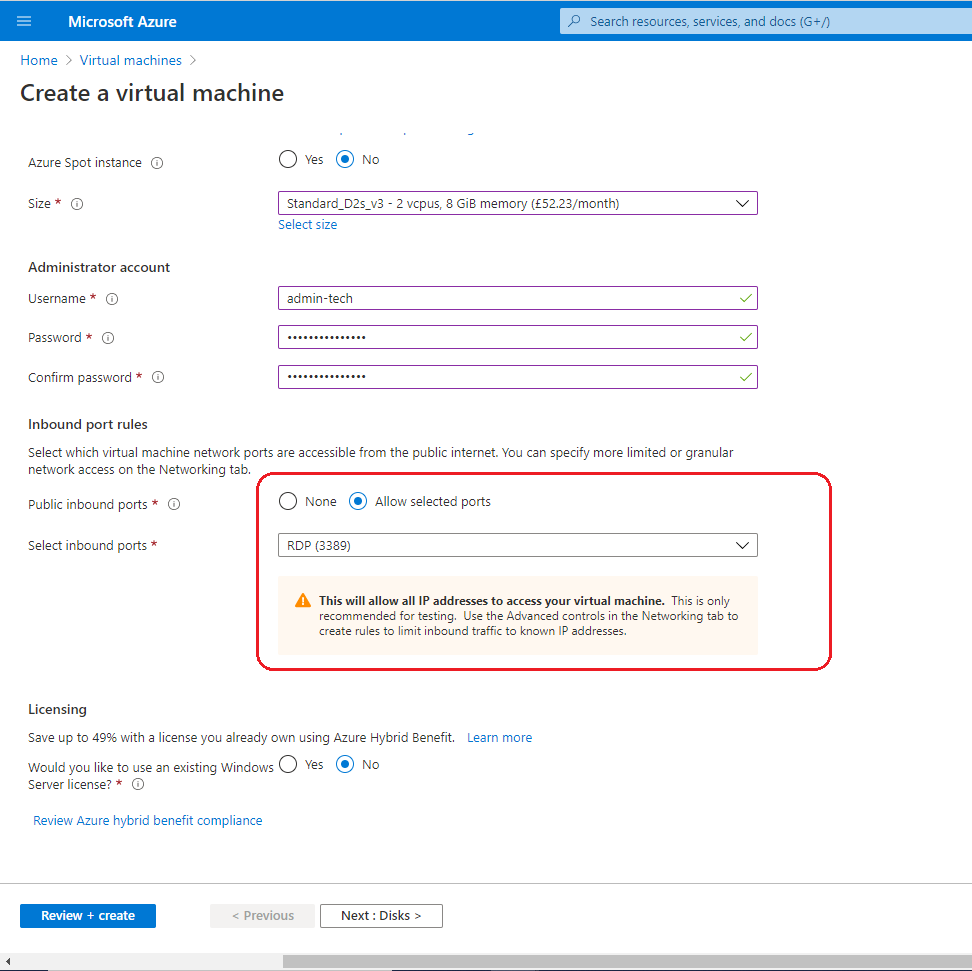
If you want to allow remote login for your VM through the internet, select the “Allow selected ports” option for Public inbound ports and RDP (3389) for Select inbound ports. Leave Disks with default values and click on the “Review + create” button.
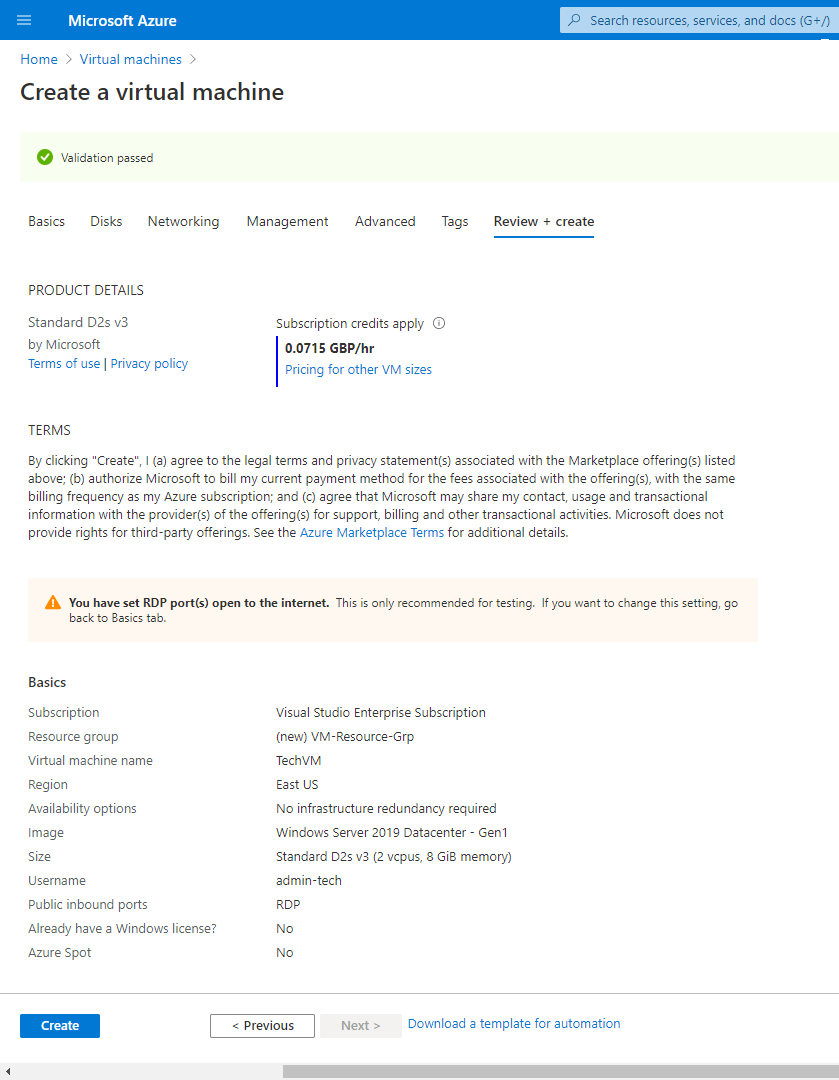
Once you are happy with the details, click on the Create button to create the VM. It takes some time to create VM and displays as below after successful deployment.
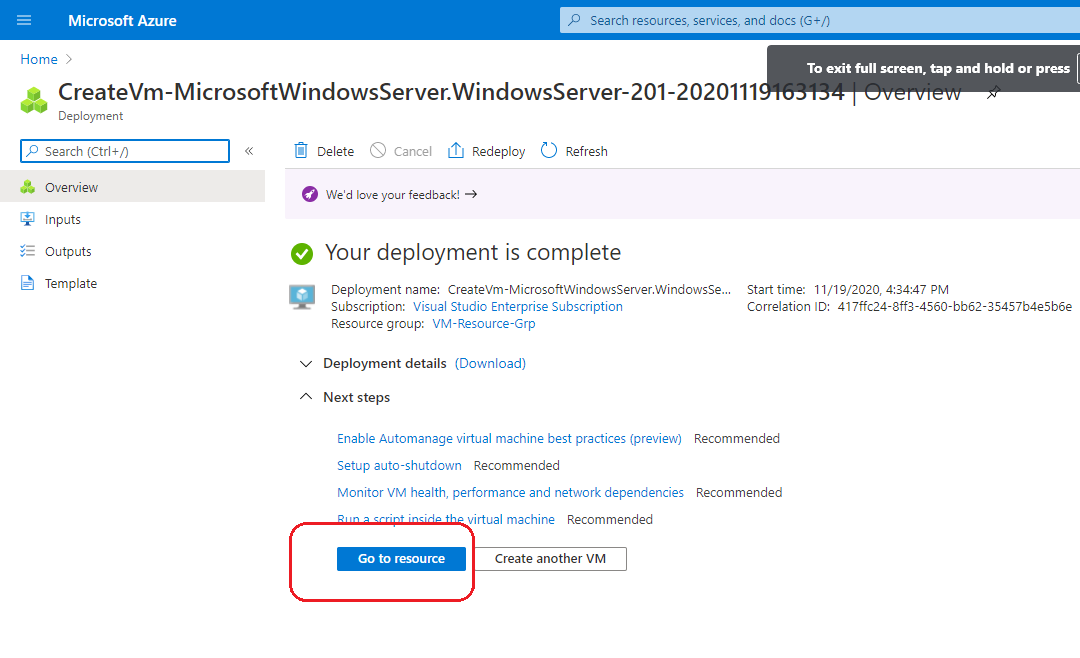
Select the “Go to Resource” button to go to your VM and select the Connect option to get the RDP file.
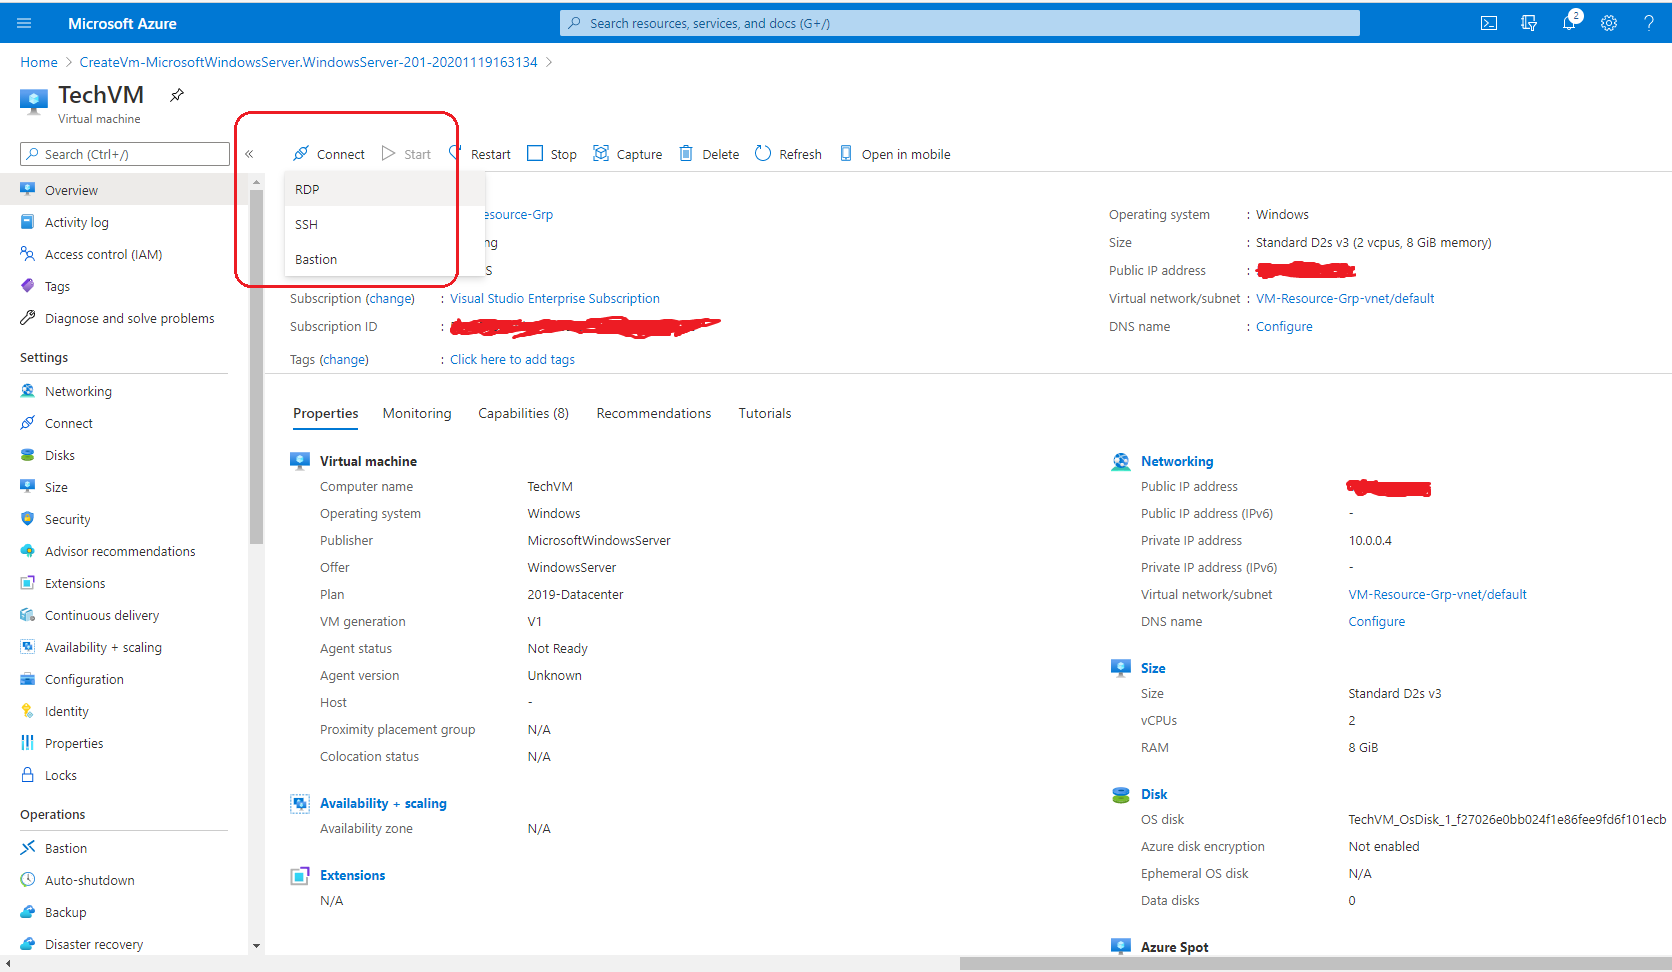
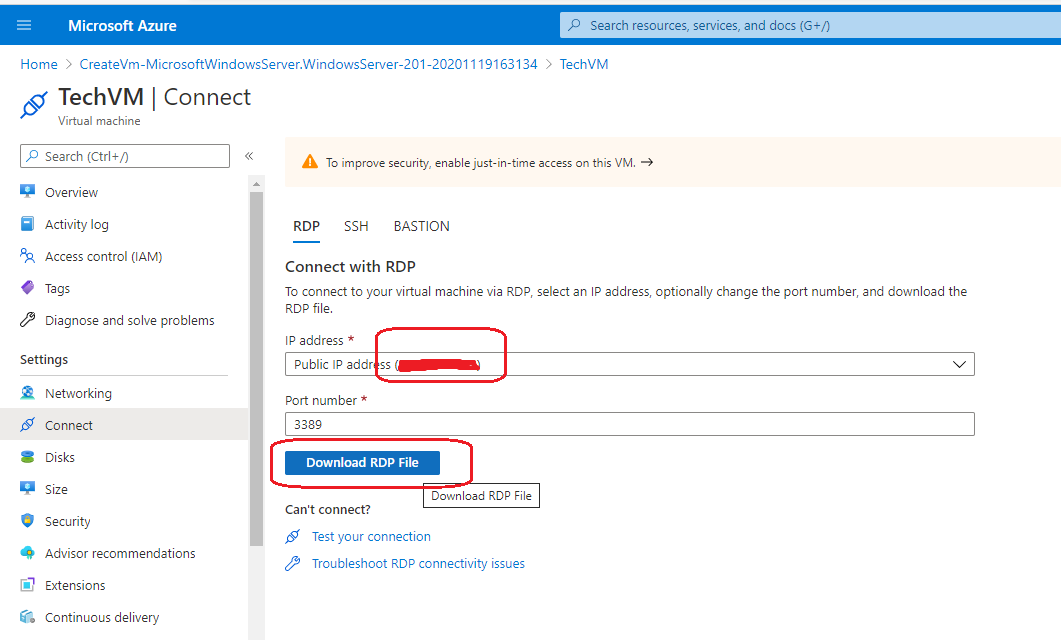
Select RDP under Connect list from where you can download the RDP file. It also displays public IP for your VM.
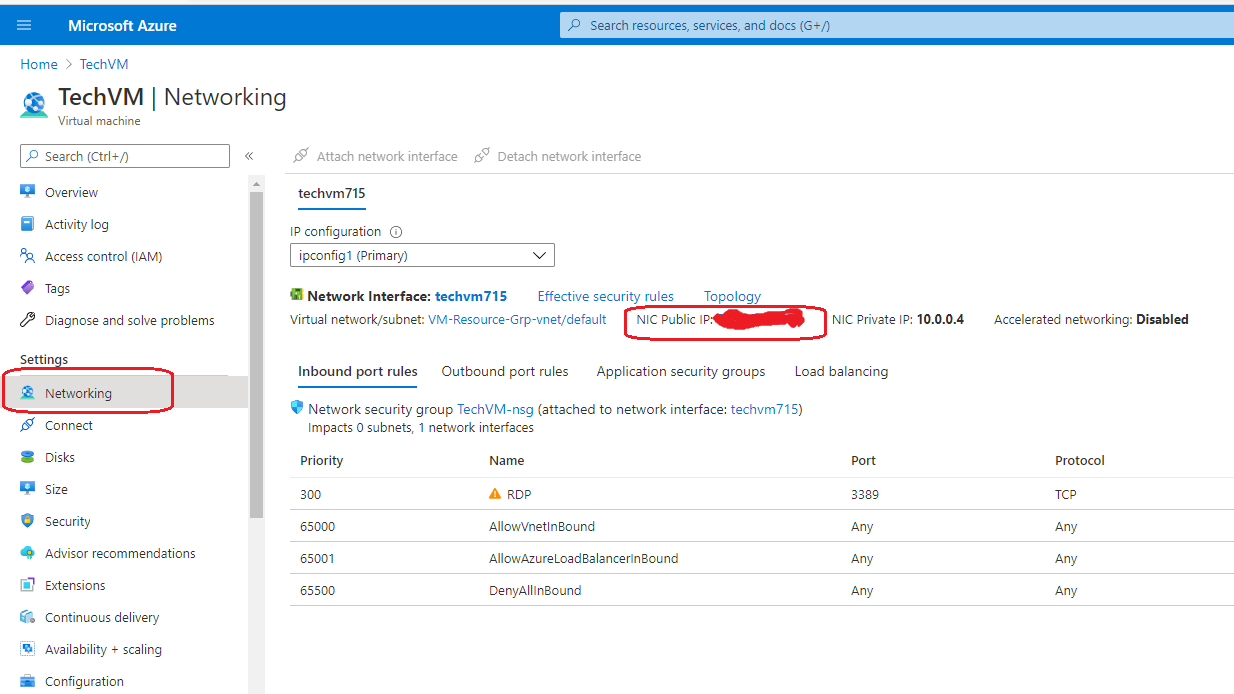
You can see all network configurations for your VM under the Networking tab as below.
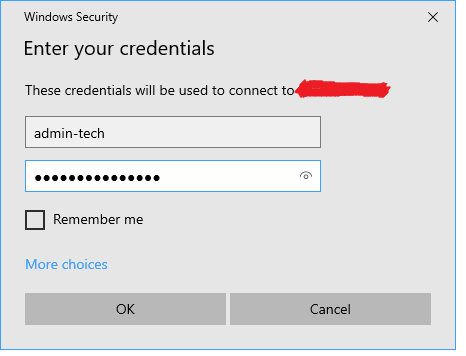
Open the RDP file which you downloaded to connect to your VM. Enter your login details for your VM.
After successful login, check your VM configuration.
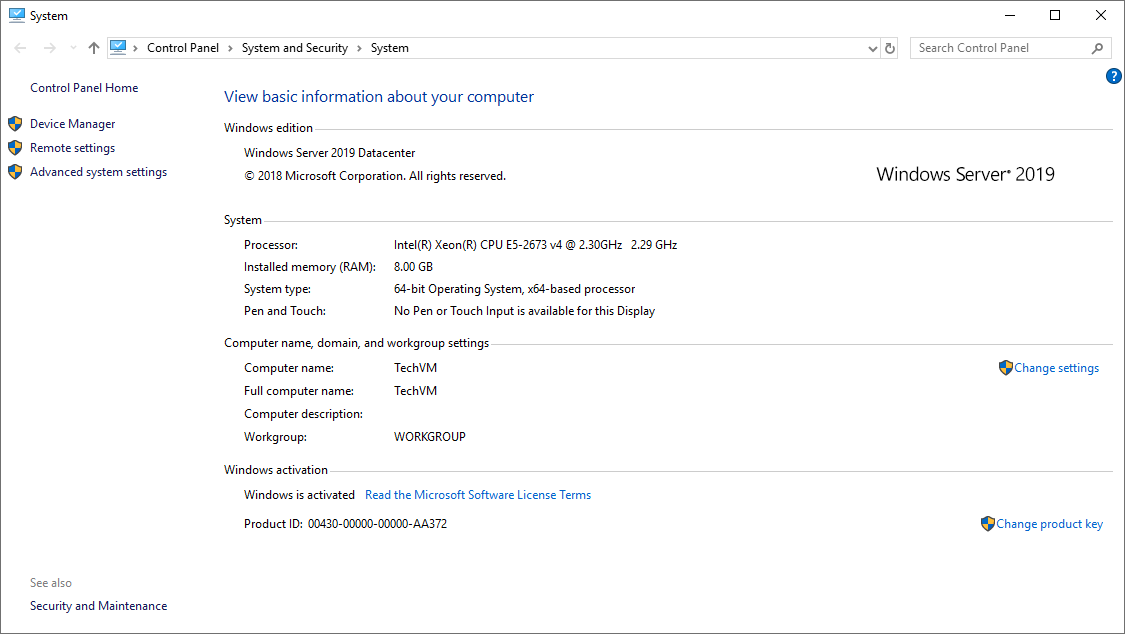
As shown above, it has the same configuration that we have entered while creating the VM.
