Deploy Asp.Net Web API (Rest API) in Microsoft Azure
As of now, we have tested our Asp.Net Web API locally. In this article, we will deploy our Asp.Net Web API (Rest API) in Microsoft Azure.
To deploy the API on Azure, open solution explorer => right click on the project and select Publish. On the Publish window, choose the New option, and it displays several options, as shown below.
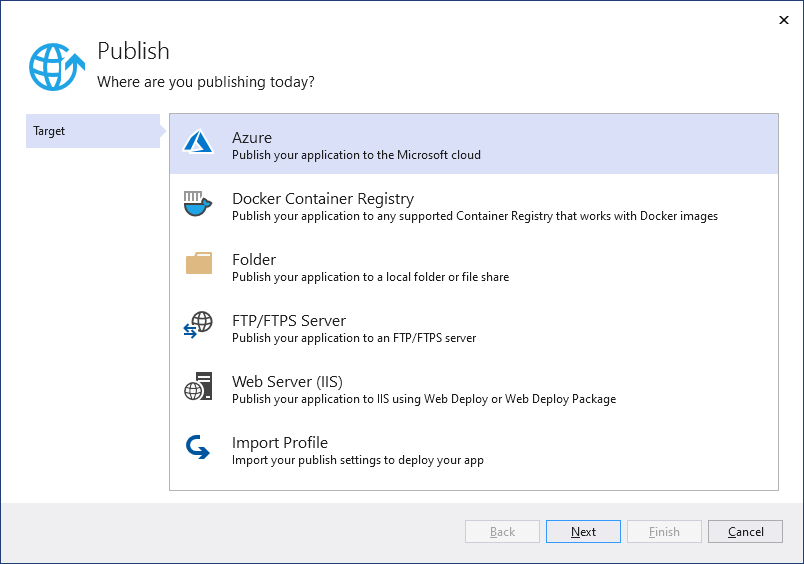
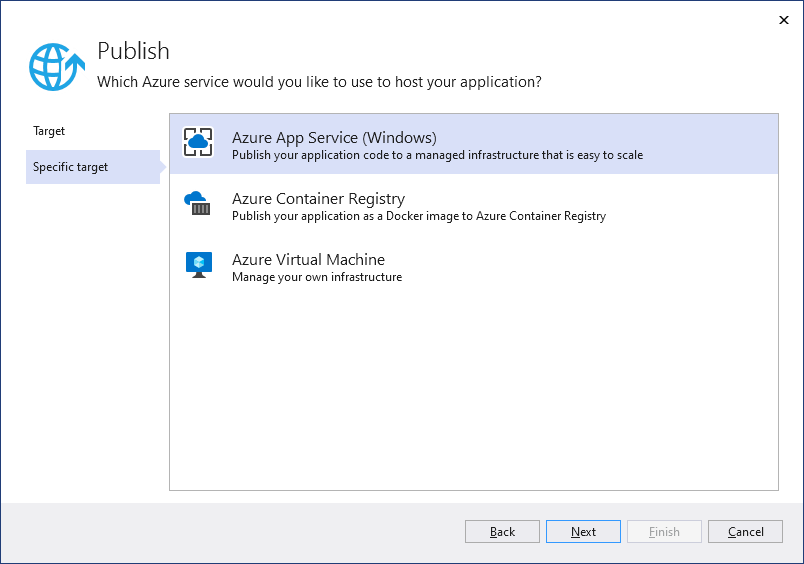
Select Azure and click on the Next button. Here select the Azure App Service (Windows) option and click on the Next button.
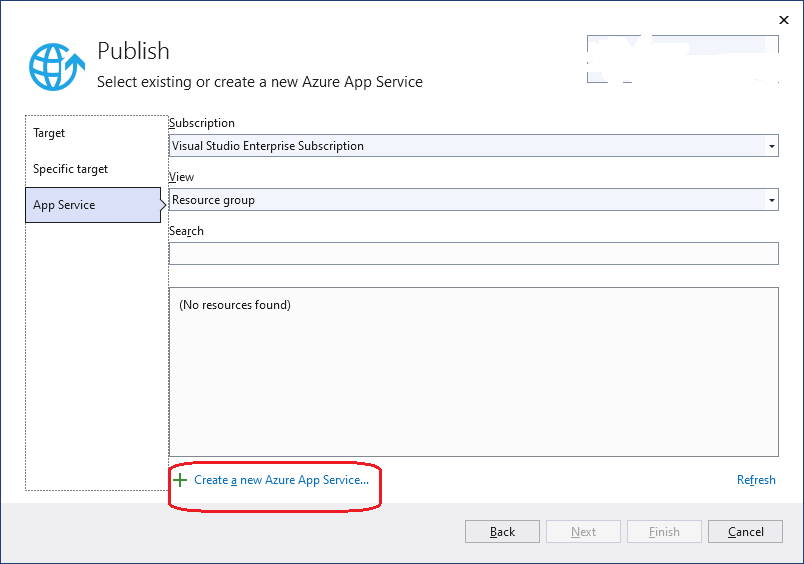
In the next window, select the “Create a new Azure App Service” option.
Enter the App Service details in the App Service (Windows) window, as shown below.
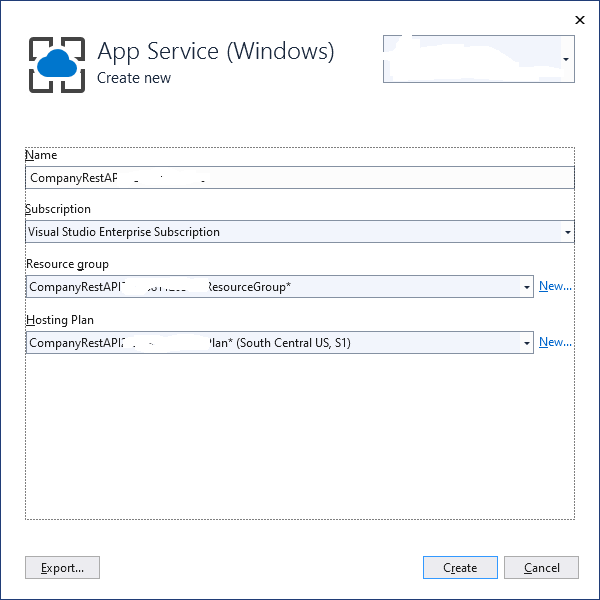
It displays the Resource group and App Service details as below.
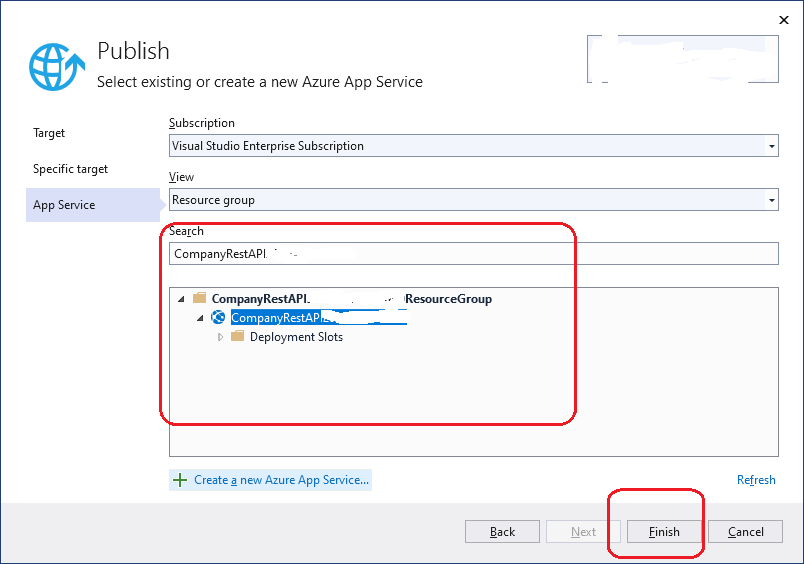
Click on the Finish button; it displays Publish details for the API as below.
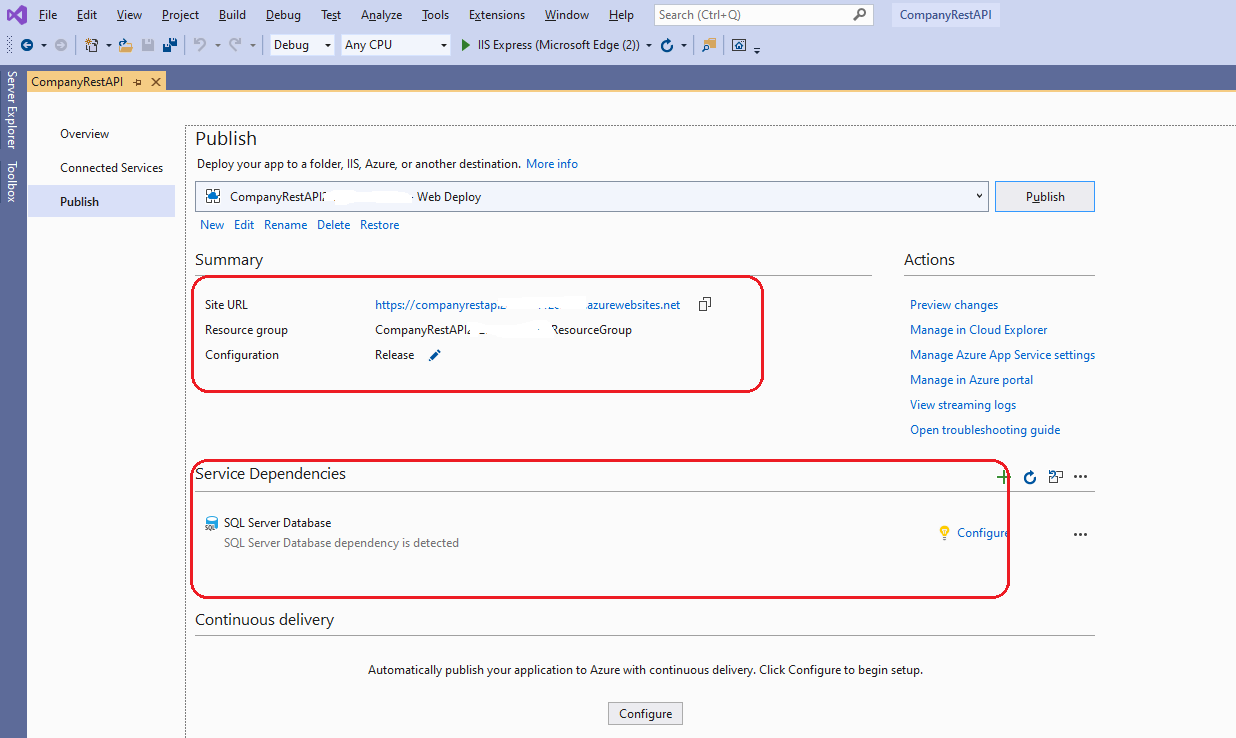
Our API requires a database also. Let’s create the SQL Server Database option, as shown in the above image.
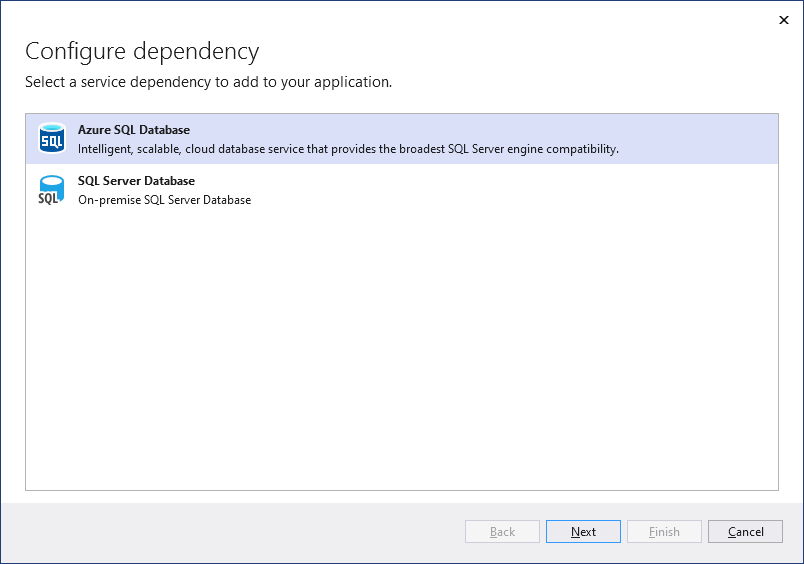
Select the Azure SQL Database option in the next window.
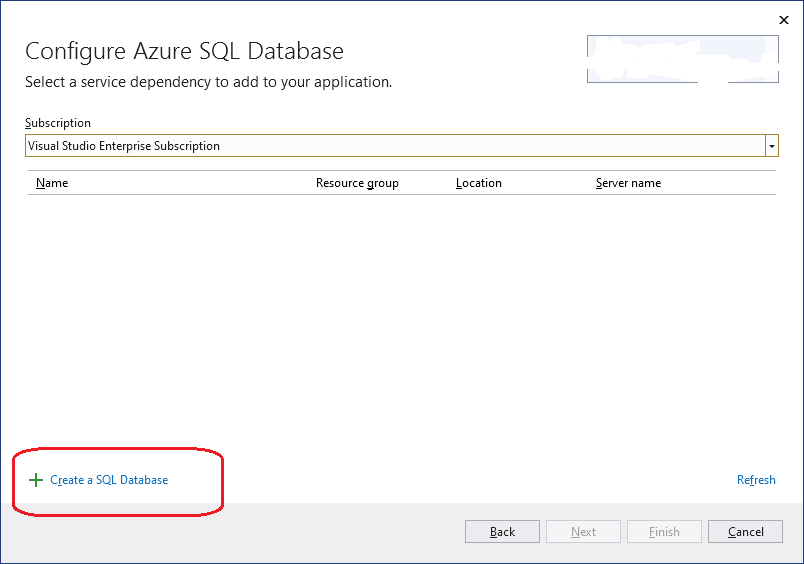
Select the “Create SQL Database” option in the “Configure Azure SQL Database” window.
Enter the required database details, as shown below.
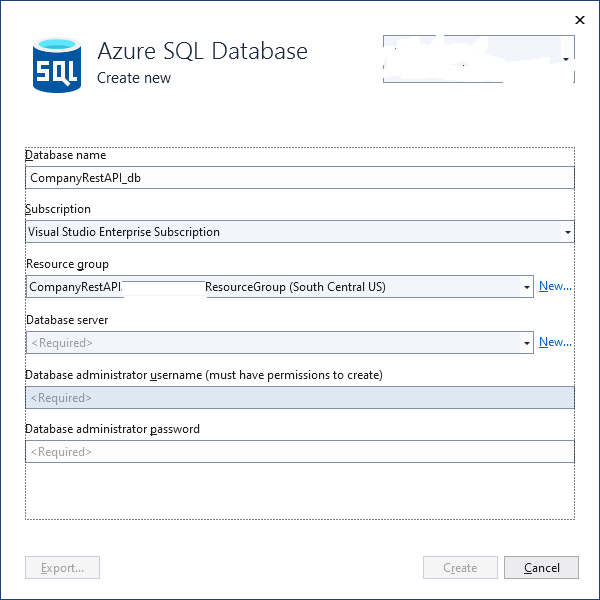
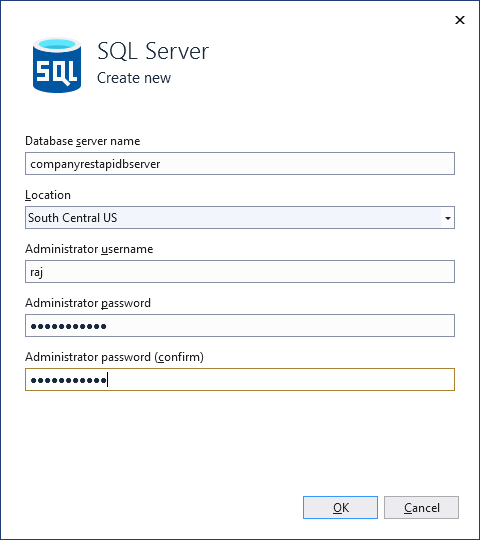
Final SQL Database window displays details, as shown below.
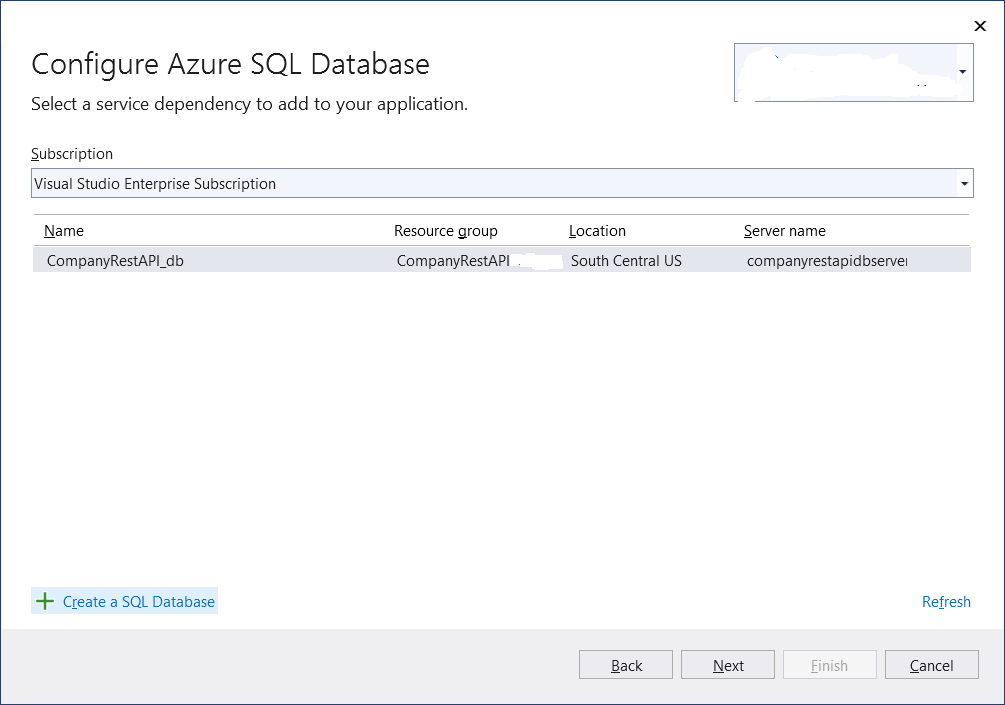
In the next window, enter all required details for database connection details.
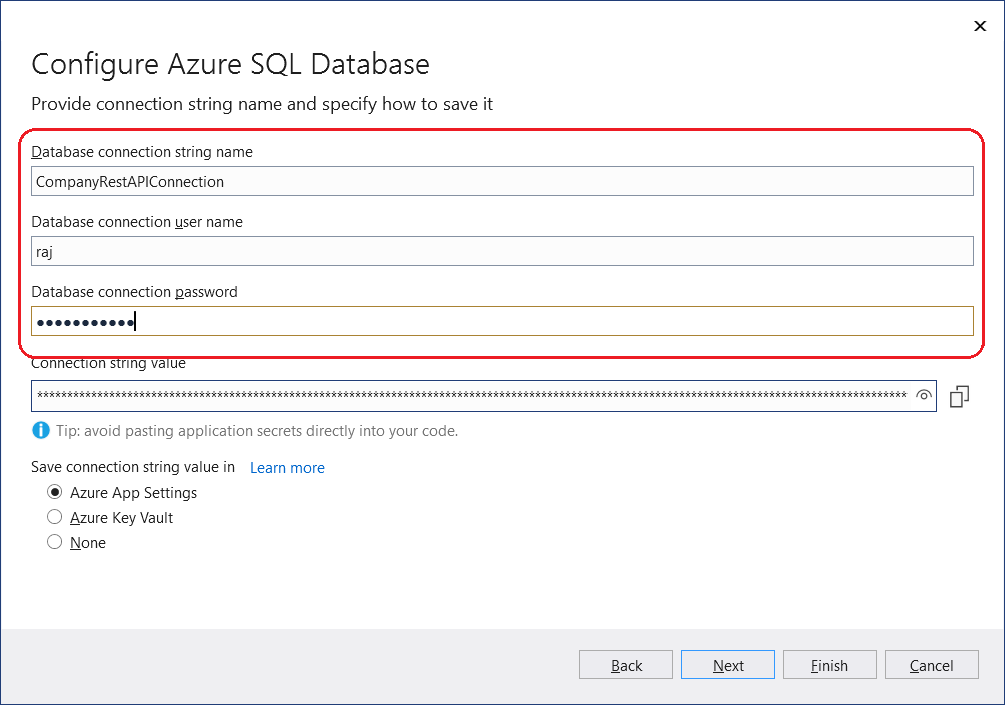
On the Finish button, it successfully setup the required details for the SQL database on Microsoft Azure.
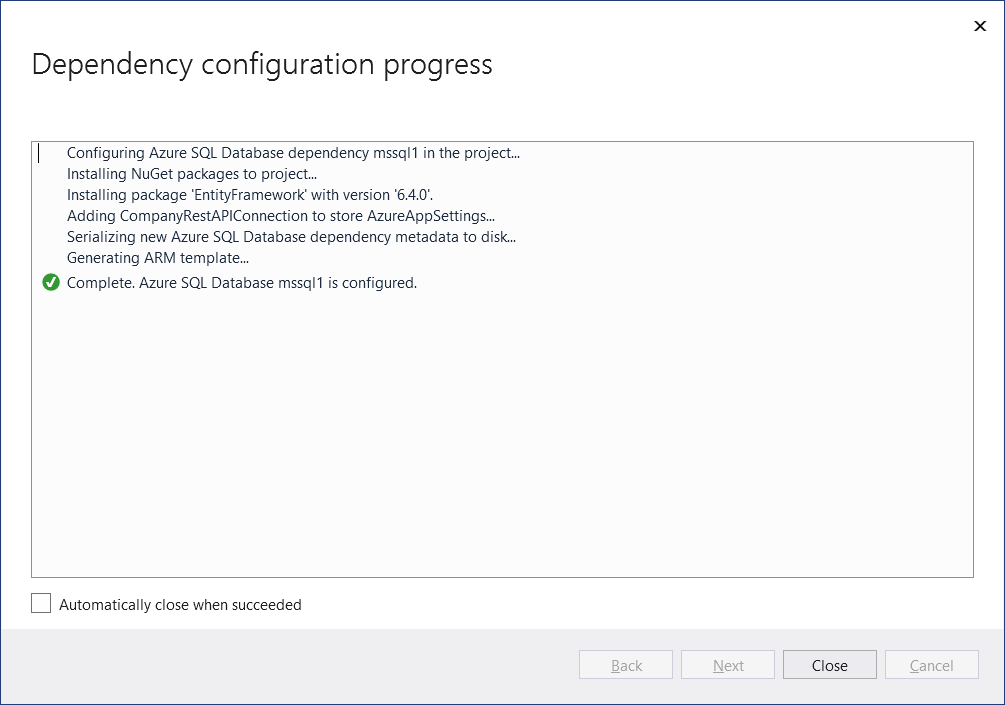
Finally, Publish window displays application and SQL database details as below.
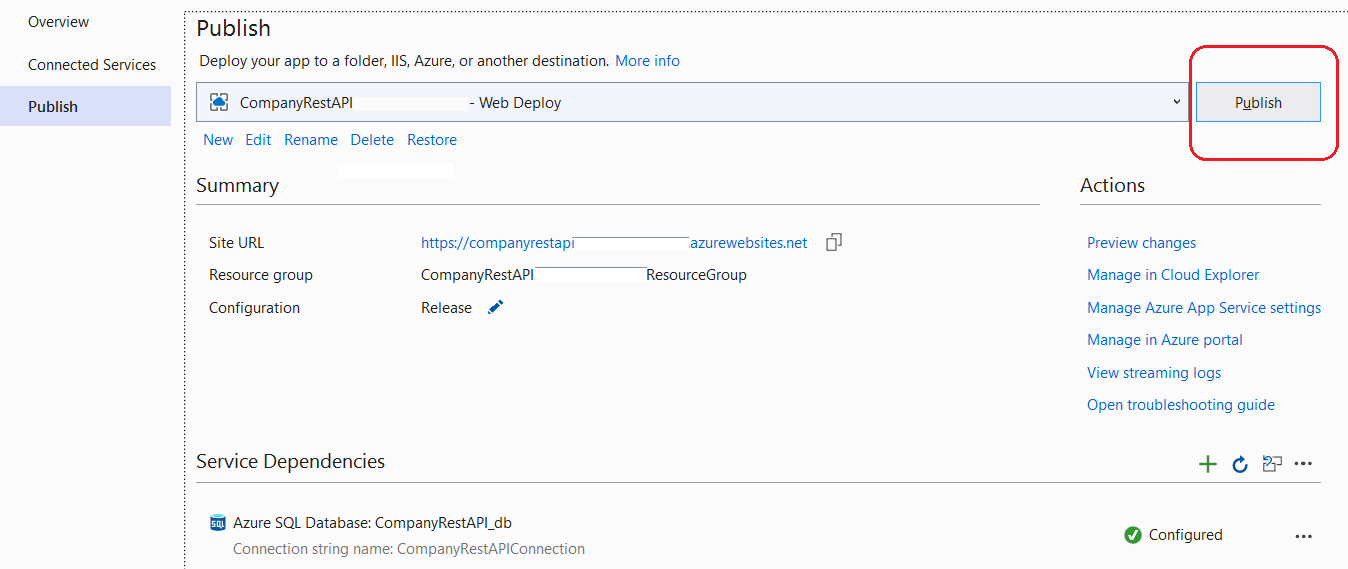
On Click on Publish button, our API successfully deploys into Microsoft Azure, as shown below. Azure also updates the Web.Config with the new Azure SQL database connection string.
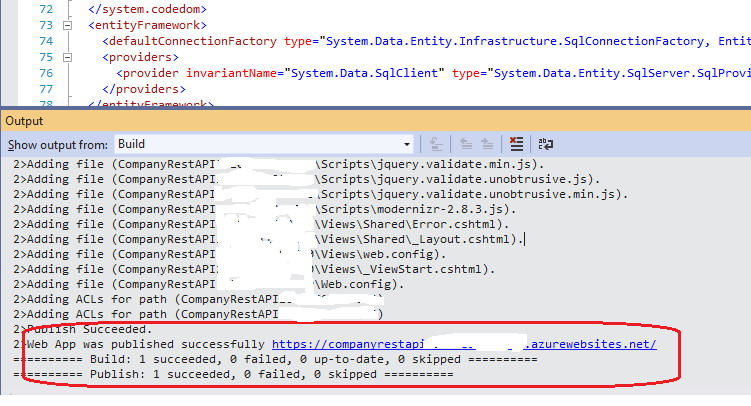
Our API URL will be in the https://companyrestapixxxxxxxxxxx.azurewebsites.net/ format. We can go to getemployees API method through https://companyrestapixxxxxxxxxxx.azurewebsites.net/api/Employees/getemployees and Swagger URL will be like https://companyrestapixxxxxxxxxxx.azurewebsites.net/swagger.
