Microsoft Visual Studio 2019 Start Window
Microsoft changed the Visual Studio start window with 2019 release; it added many features to create new projects and to access existing projects from various locations, including source controls. Microsoft Visual Studio 2019 start window has many easily accessible options. Open Microsoft Visual Studio 2019, it displays the start window, as shown below.
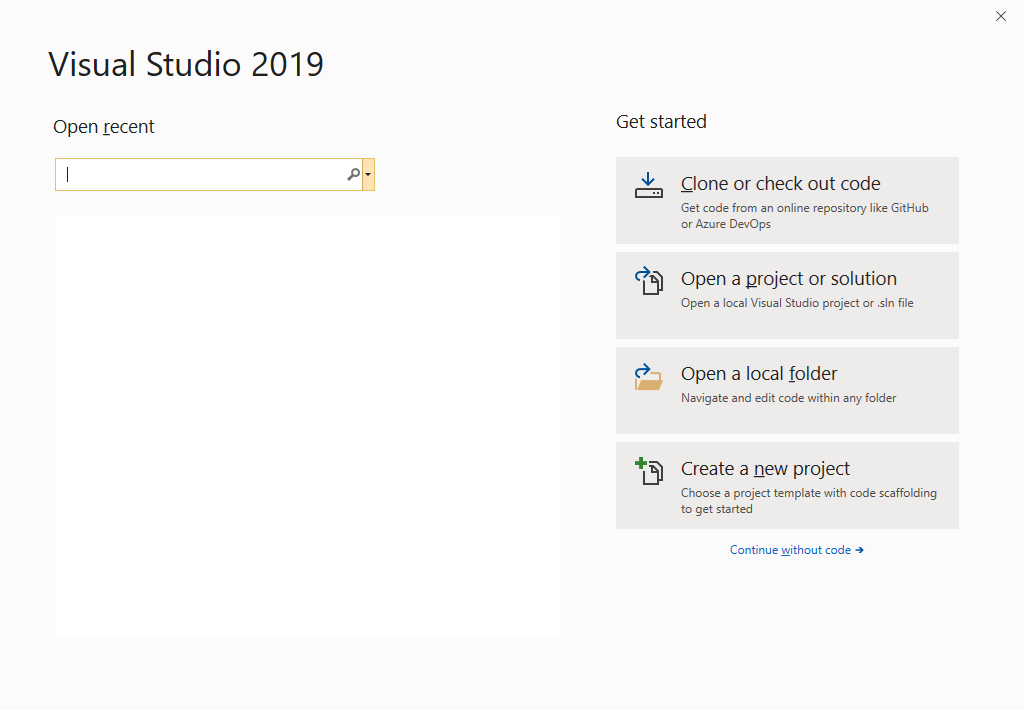
Here left-hand section displays recently opened projects, and the right-hand section displays various other operations like Clone a repository, Open existing project or solution, Open an existing folder, and create a new project.
The left-hand section displays recently accessed projects which help you to open working projects easily.
Clone or check out code: From the right-hand side, through the “Clone or check out code” option, we can clone the exiting source-control repository to the local path. By selecting this option, it displays the window as below.
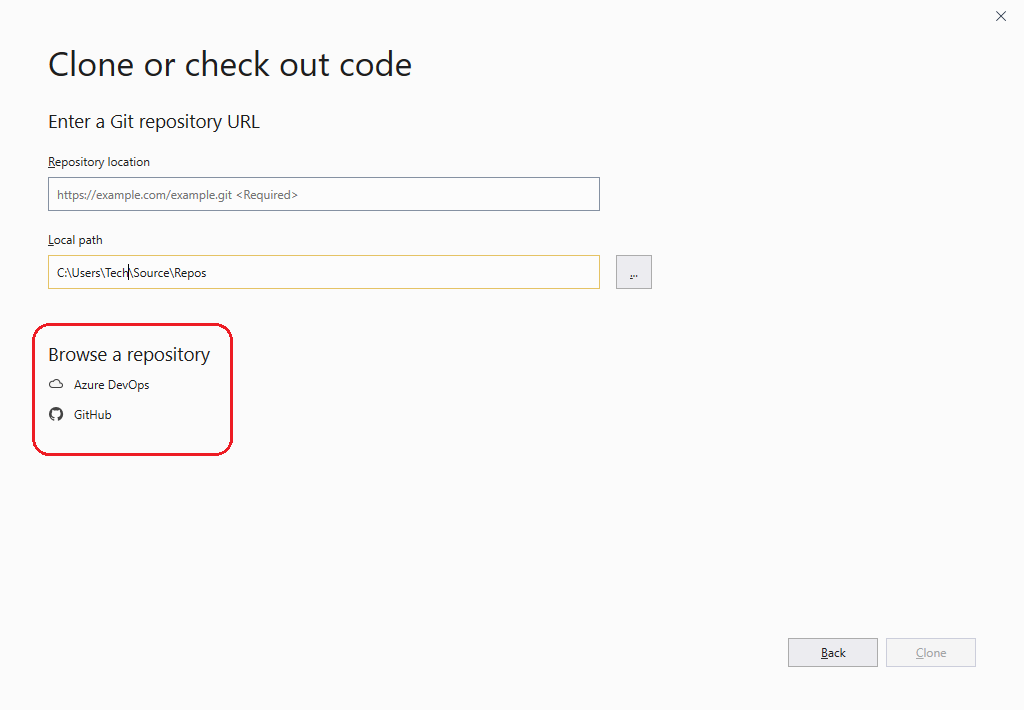
Here we need to enter Git repository URL in Repository location and local folder path in Local path to clone the Git repository. Even we can browse the Azure DevOps repository and repository from GitHub also.
Open a project or solution: Microsoft Visual Studio 2019 Start Window provided this option to easily access the desired project or solution from your local computer or shared location.
Open a local folder: As a developer, we don’t use this option that much frequently unless when you want to browse, edit, build, and debug code files that are not part of any project or solution.
Create a new project: Microsoft provided this option to create a new project. Through this option, we can create new projects easily and very quickly. By selecting this option, it displays the project templates window, as shown below.
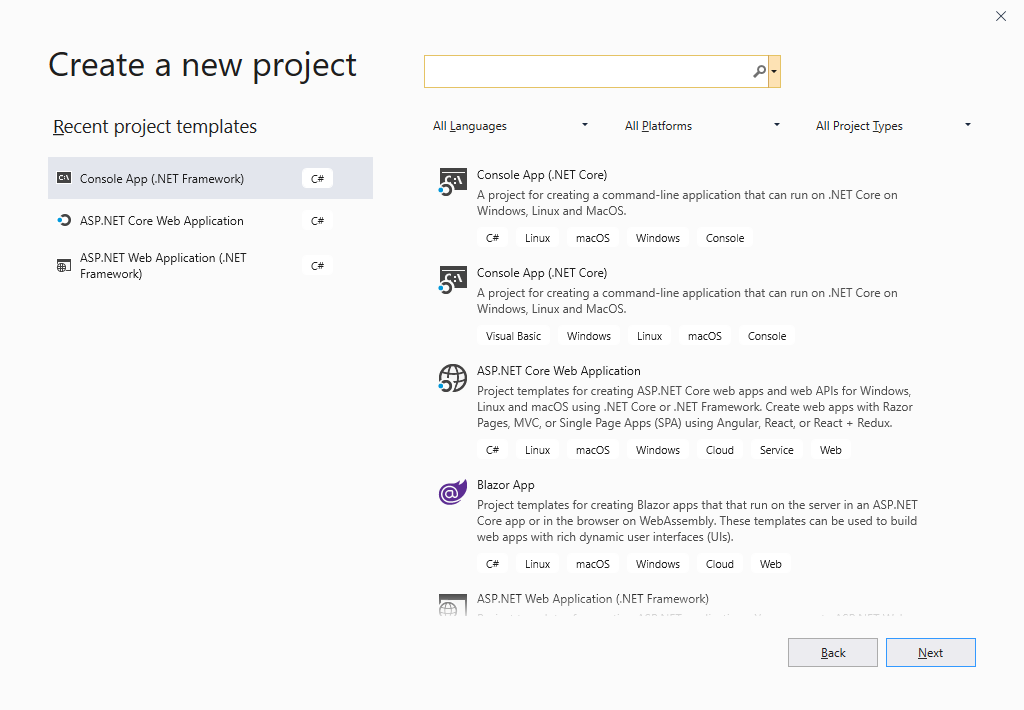
On the right-hand side, we can find recently used templates, and the left-hand side displays all available templates. We can search for any template by entering its name on the search box, as shown below.
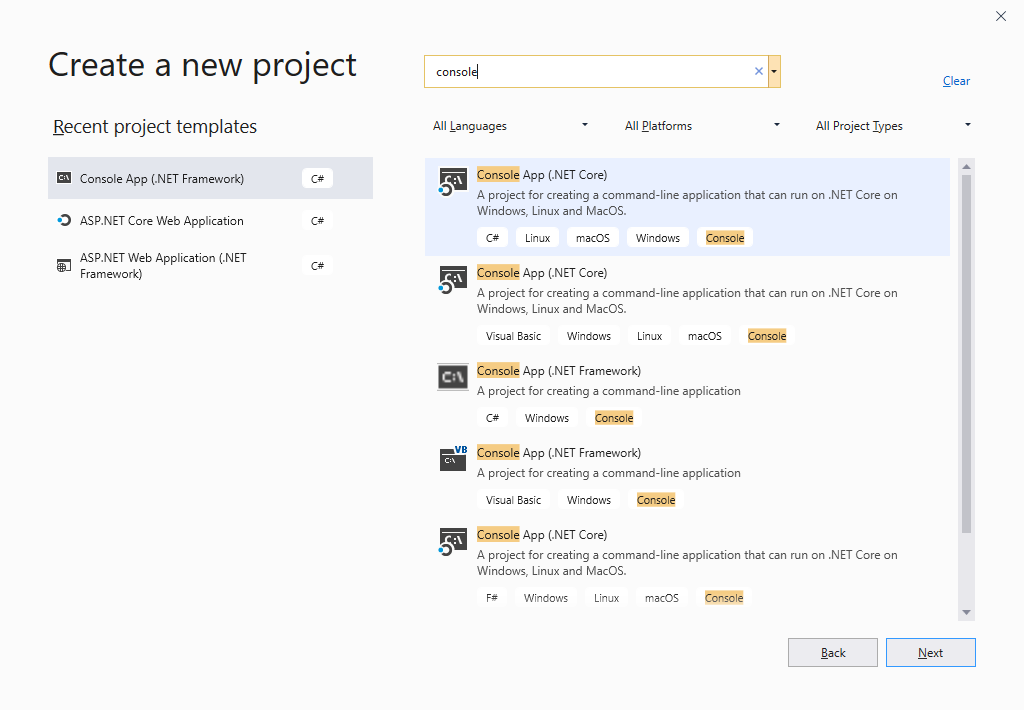
Here, we were searching for console templates and got all templates related to the console. Select the required template; we select the Console App (.NET Framework) template and new window displays, as shown below.

In this window, we can give the Project name, Location of the project, Solution name, and .NET Framework version. After selecting these options, click on the Create button to create the project.
