Publish DevOps Code to Microsoft Azure using CI/CD Pipelines
This article discusses how to publish Azure DevOps code to Azure cloud automatically for each code level changes using DevOps CI/CD pipelines.
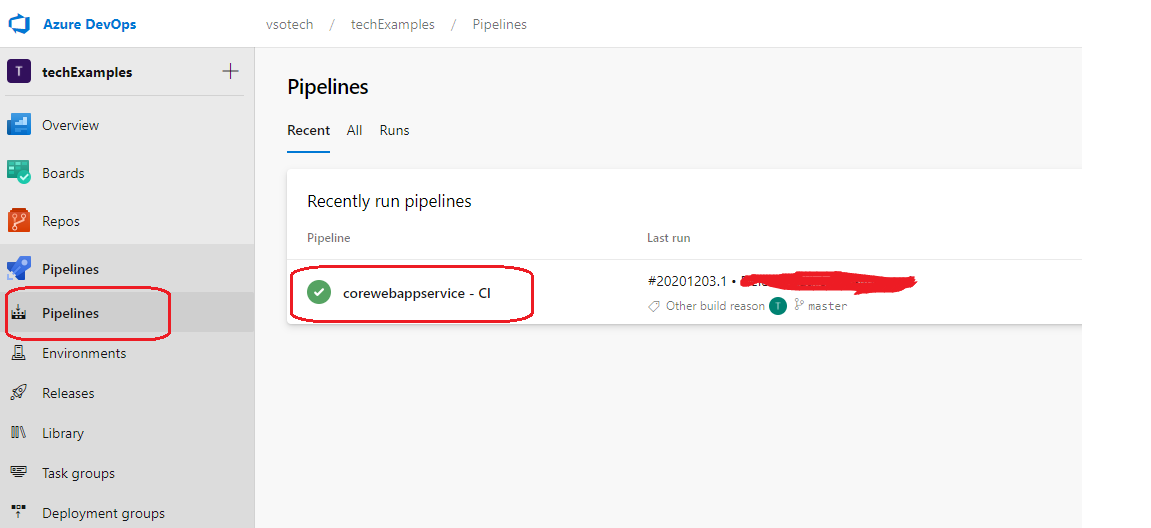
I have a simple Asp.net Core Web Application in DevOps, as shown below.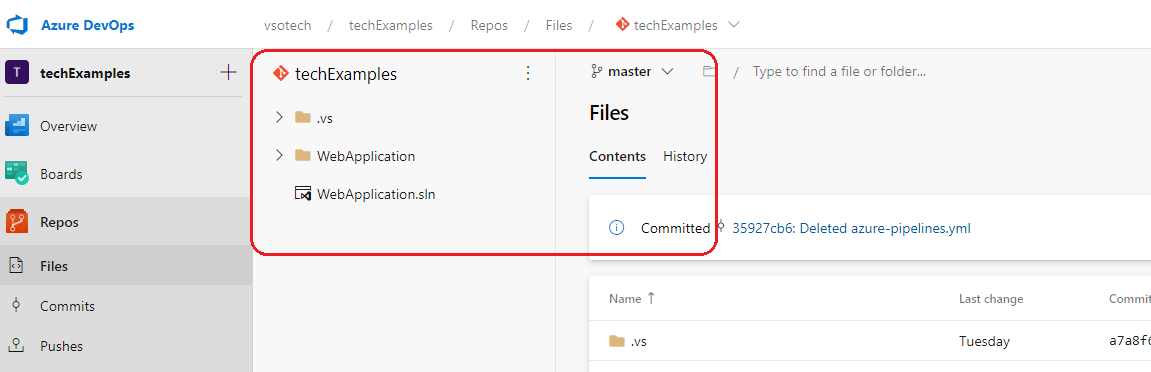
Now login to Azure Portal (https://portal.azure.com) and create App Service with .Net Core 3.1. Go to App Service, select Deployment Center under the Deployment section as shown below.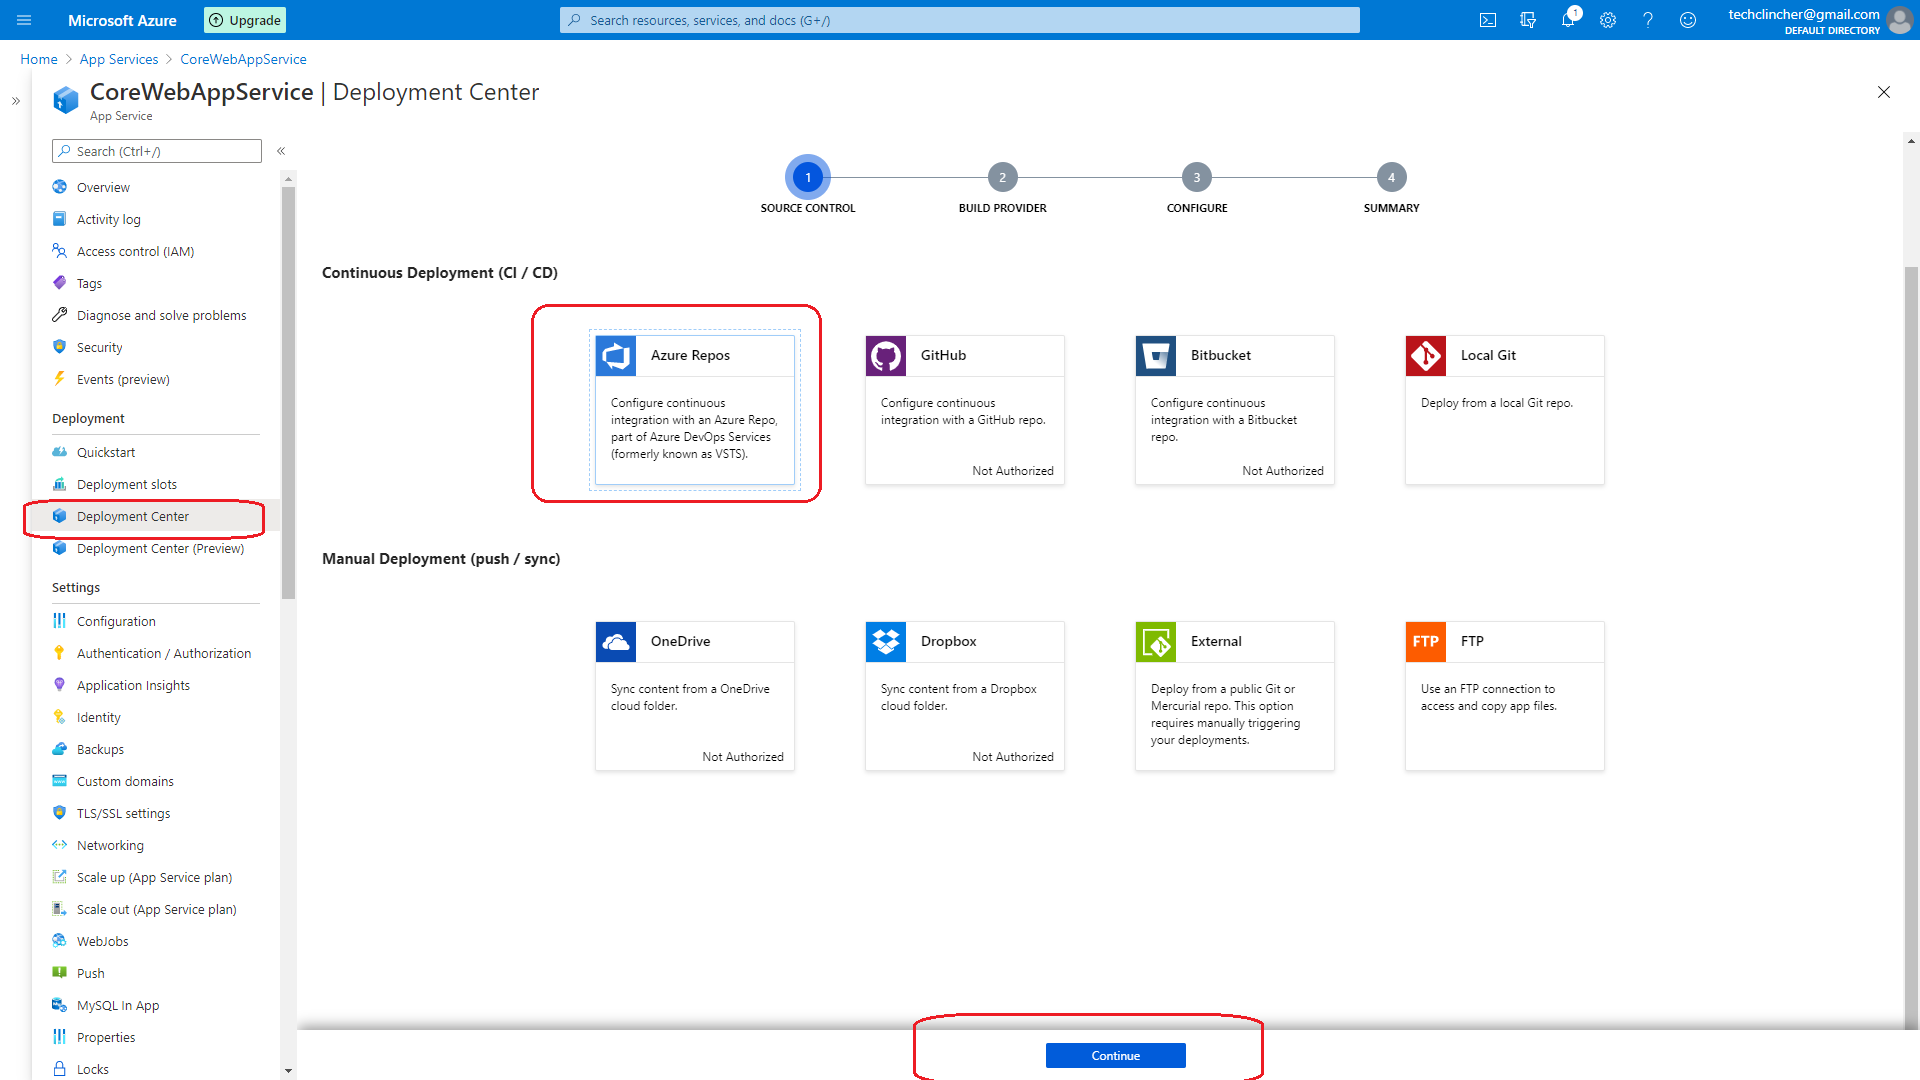
You have several options for Continuous Deployment (CI / CD), select Azure Repos and click on the Continue button.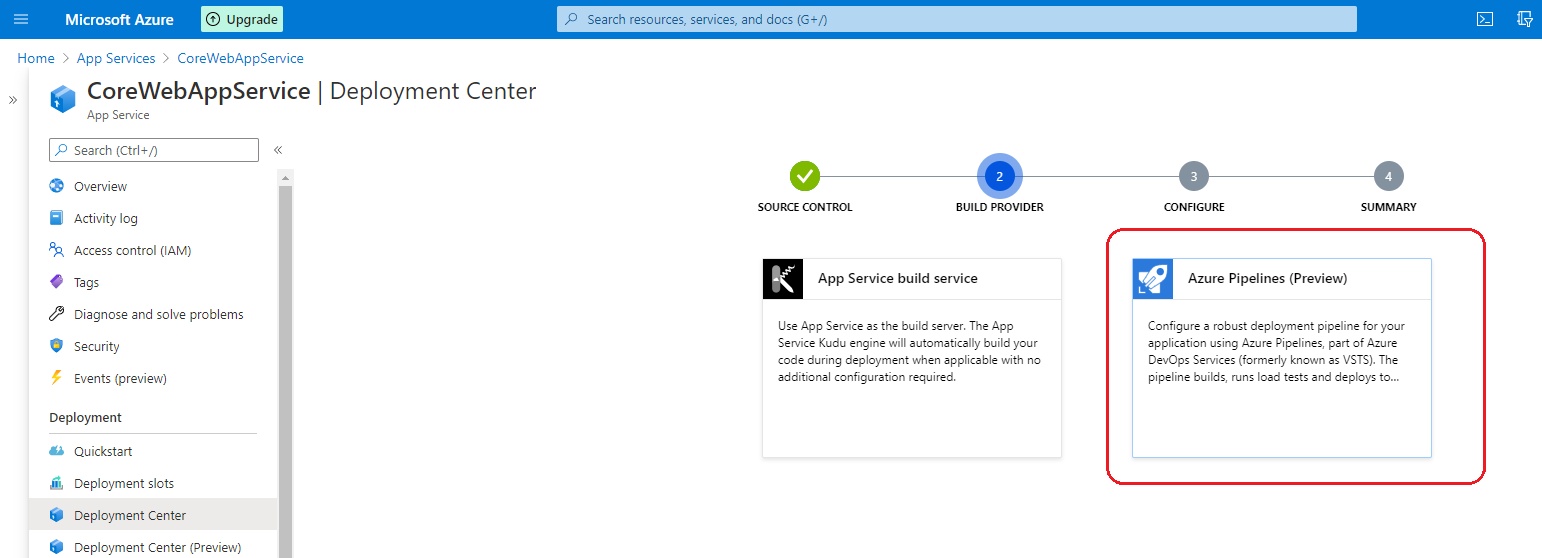
Select Azure Pipeline and click on the Continue button.
Note: Your Azure account should have access to your DevOps code to display DevOps Organization and Project details.
Select your DevOps Organization, Project, Repository, and branch details of your code. Finally, click on the Continue button, check the details on the Summary page, and click on the Finish button.
It takes some time to create CI/CD pipelines under your repository. After successfully deploy the code, it displays the confirmation page as below.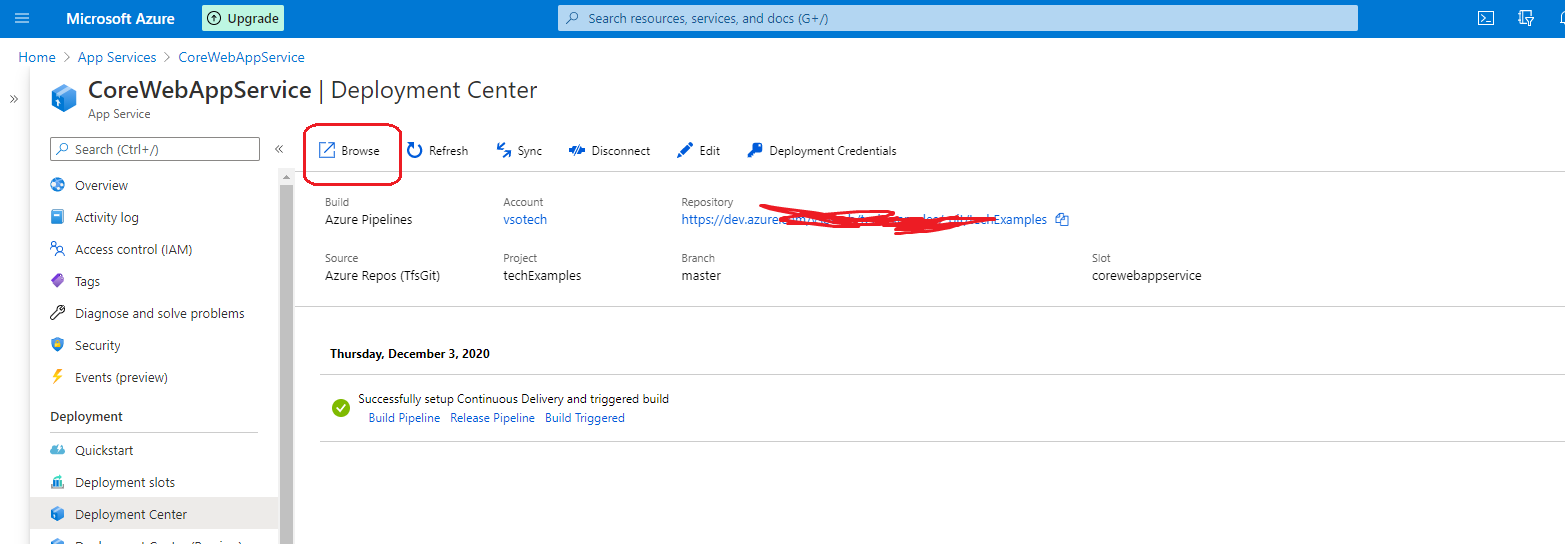
Click on the Browse button; it opens your Azure web application URL.
Now, go to DevOps to check the CI/CD pipelines. Select your project and go to Pipelines; it displays the CI Pipeline.
Select the Releases tab to check the CD pipeline.
If you commit any changes in DevOps, it automatically deploys in Azure Cloud. Let’s try to change the header for the default page (index.cshtml) to “Welcome to Azure DevOps, testing CI/CD Commit” and Commit. Check the Pipeline; it automatically starts running because of Commit.
It takes some time to deploy the changes to Azure Cloud.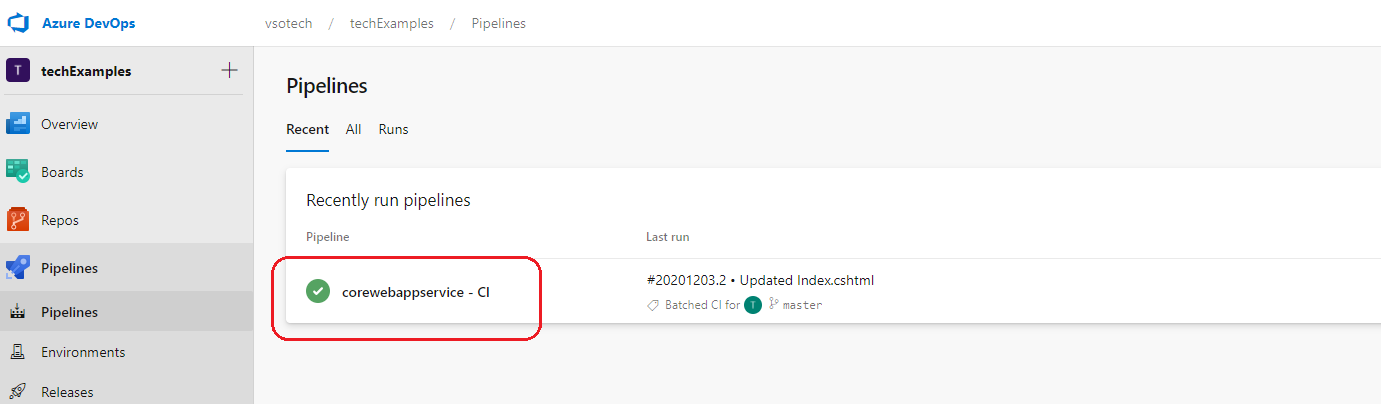
Now go to Azure Portal => Select App Service and go to Deployment Center.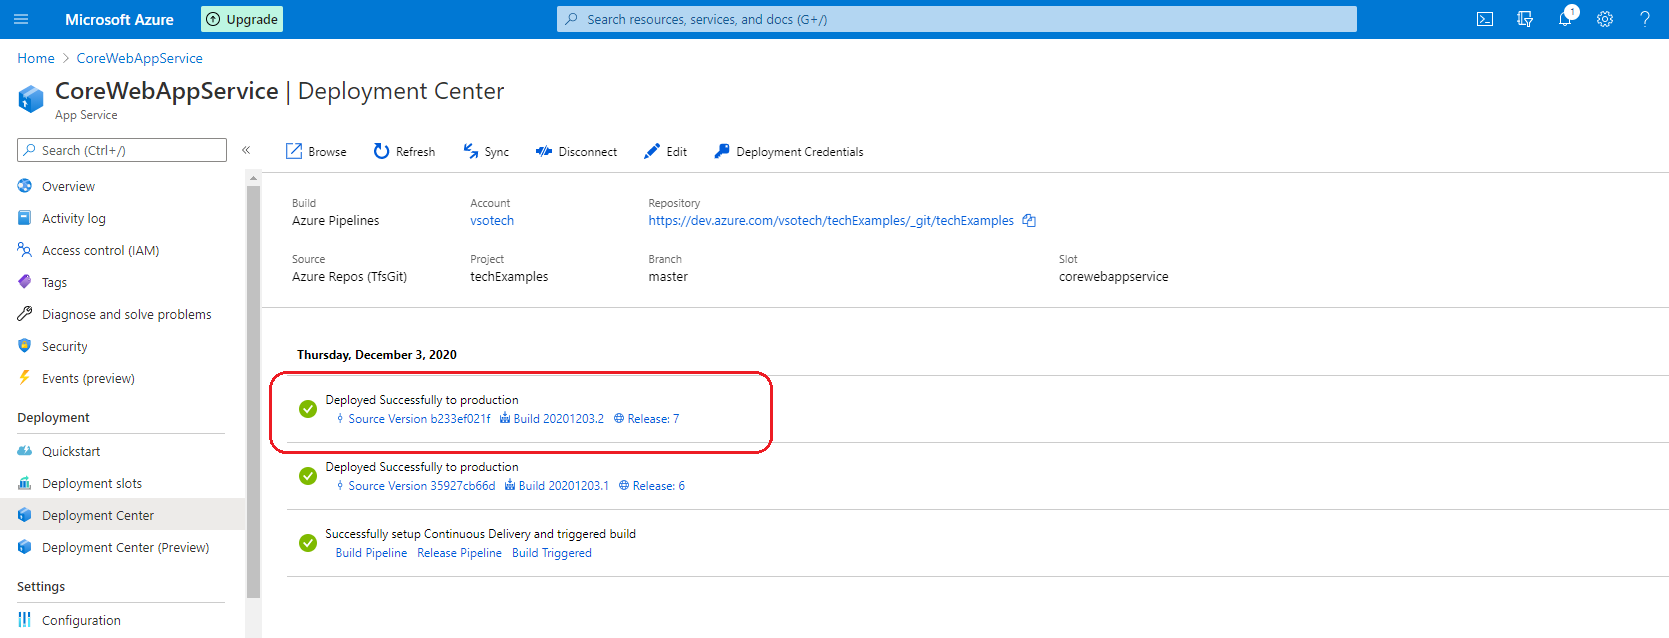
You can see the “Deployed Successfully to production” message. Now go to the application by clicking on the browse button to see the changes.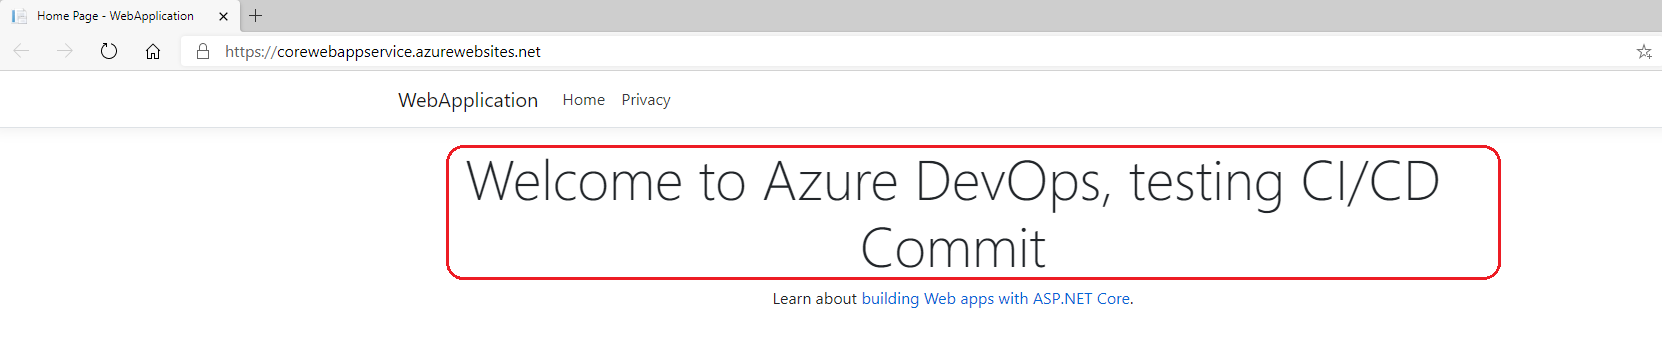
As shown above, the header is displaying as we changed in the DevOps repository.
