Simple Service Fabric Stateless Application
Let’s create simple stateless service fabric application and the public to the local cluster through Microsoft Visual Studio 2019. In this example, service writes time to a local text file for every 5 seconds.
Open Microsoft Visual Studio 2019 => Create New Project => search for Service Fabric Application => name it as “SimpleStatelessServiceFabric”. In “New Service Fabric Service” window, select “Stateless Service” under .NET Framework and name it as “SimpleStateless”. The default code for SimpleStateless.cs class looks like below.
using System;
using System.Collections.Generic;
using System.Fabric;
using System.Linq;
using System.Threading;
using System.Threading.Tasks;
using Microsoft.ServiceFabric.Services.Communication.Runtime;
using Microsoft.ServiceFabric.Services.Runtime;

namespace SimpleStateless
{
    /// <summary>
    /// An instance of this class is created for each service instance by the Service Fabric runtime.
    /// </summary>
    internal sealed class SimpleStateless : StatelessService
    {
        public SimpleStateless(StatelessServiceContext context)
            : base(context)
        { }

        /// <summary>
        /// Optional override to create listeners (e.g., TCP, HTTP) for this service replica to handle client or user requests.
        /// </summary>
        /// <returns>A collection of listeners.</returns>
        protected override IEnumerable<ServiceInstanceListener> CreateServiceInstanceListeners()
        {
            return new ServiceInstanceListener[0];
        }

        /// <summary>
        /// This is the main entry point for your service instance.
        /// </summary>
        /// <param name="cancellationToken">Canceled when Service Fabric needs to shut down this service instance.</param>
        protected override async Task RunAsync(CancellationToken cancellationToken)
        {
            // TODO: Replace the following sample code with your own logic
            //       or remove this RunAsync override if it's not needed in your service.

            long iterations = 0;

            while (true)
            {
                cancellationToken.ThrowIfCancellationRequested();

                ServiceEventSource.Current.ServiceMessage(this.Context, "Working-{0}", ++iterations);

                await Task.Delay(TimeSpan.FromSeconds(1), cancellationToken);
            }
        }
    }
}
As you seen above, SimpleStateless class is inheriting StatelessService class, which is mandatory to implement a stateless service fabric. The SimpleStateless class should override RunSync() method, which is a member of StatelessService. Let’s change the RunSync() method to write time to a text file for every five seconds, as shown below.
protected override async Task RunAsync(CancellationToken cancellationToken)
{
       while (true)
       {
           System.IO.File.AppendAllText(@"C:\temp\StatelessService.txt", "Time : " + DateTime.Now.ToString() + Environment.NewLine);
                await Task.Delay(TimeSpan.FromSeconds(5), cancellationToken);
        }
}
Now we need to deploy this service into the cluster. Here we use a local cluster where we deploy our service.
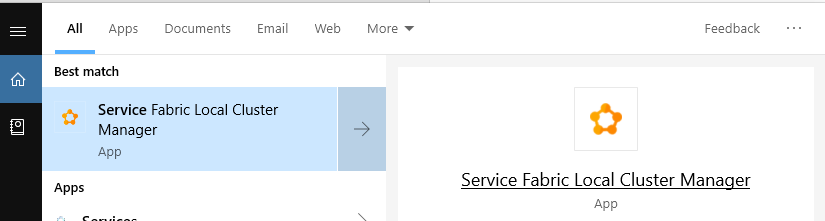
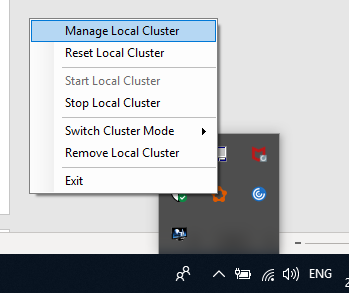
Open “Service Fabric Local Cluster Manager” from the start menu and start the local cluster. Here we are running the local cluster in 5-Node cluster mode. Select “Manage Local Cluster” option, as shown below.
It opens Service Fabric Explorer page as shown below.
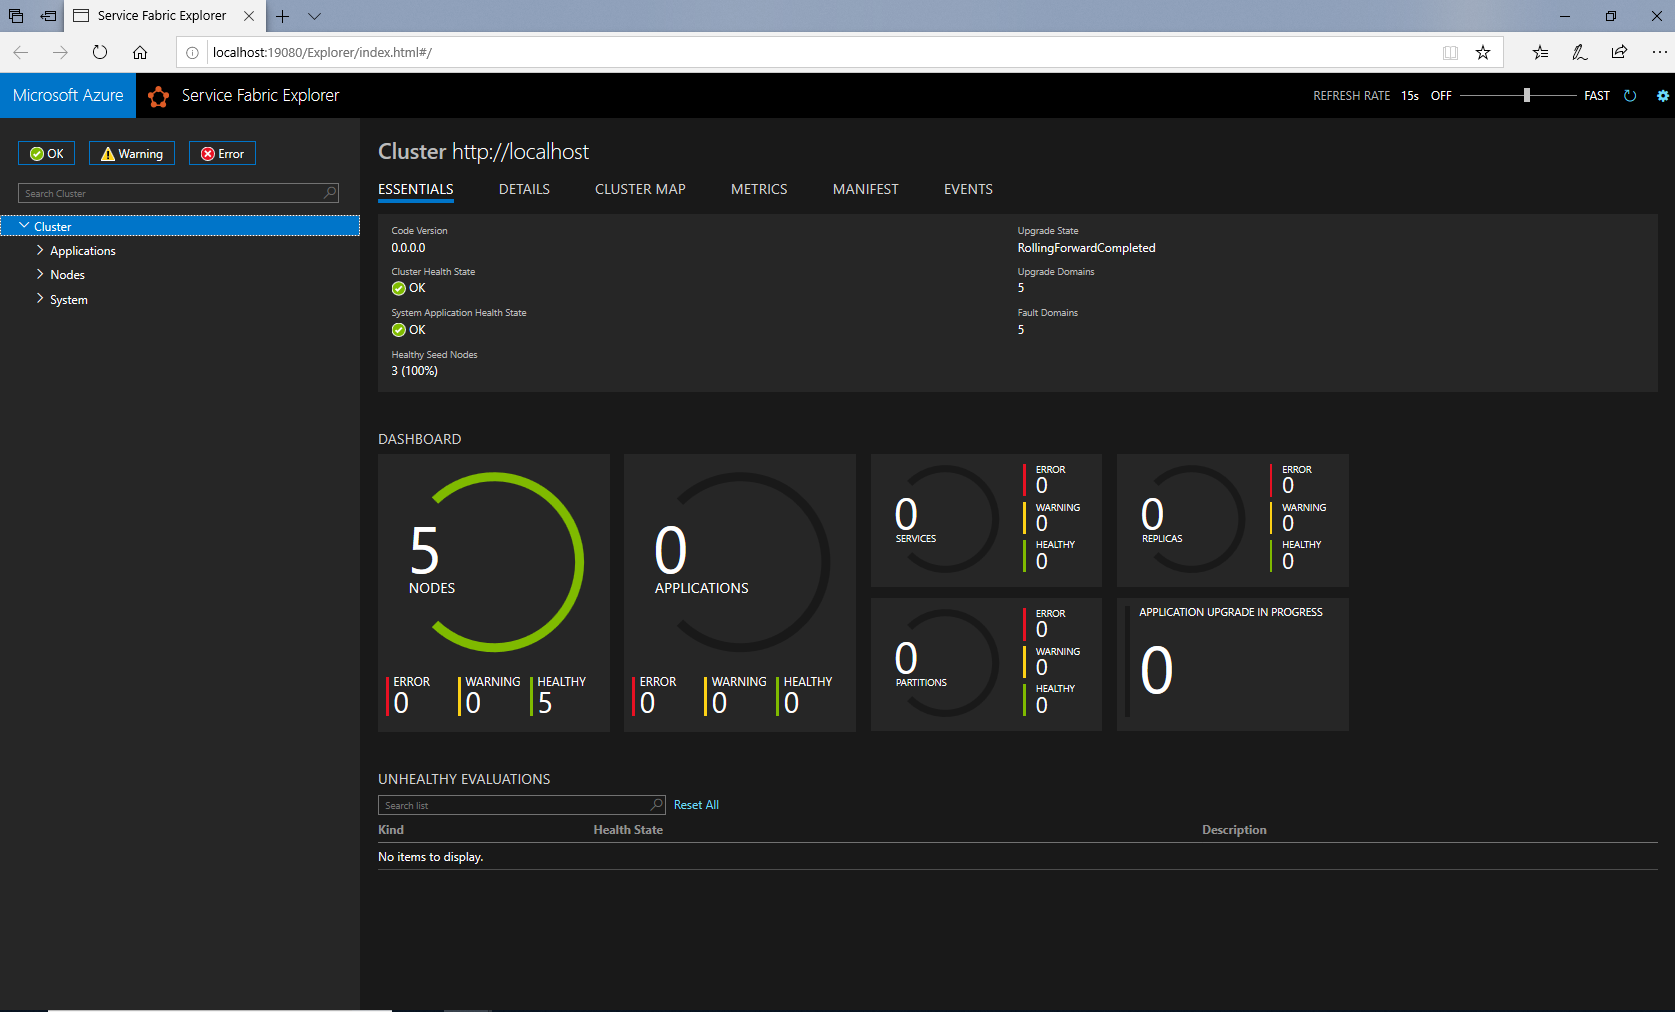
You can see here, Service Fabric Explorer page displaying “5 NODES” and “0 APPLICATIONS” as we didn’t deploy any application to our local cluster.
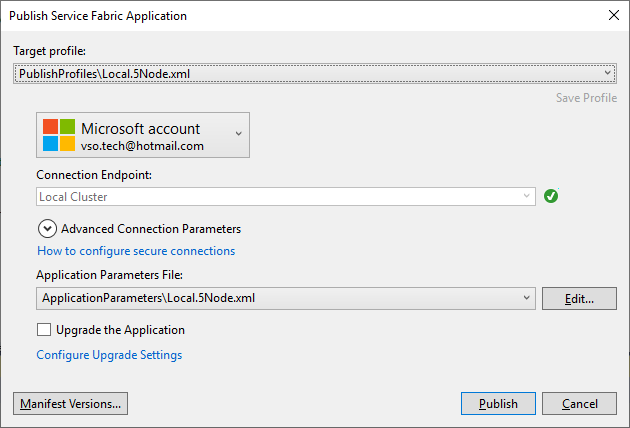
Right click on the SimpleStatelessServiceFabric project and select Publish button. It displays “Publish Service Fabric Application” window. Here select Target Profile as “PublishProfiles\Local.5Node.xml”, Connection Endpoint as “Local Cluster” and Application Parameters File as “ApplicationParameters\Local.5Node.xml” like below.
Click on Publish button. Our service deploys to the local cluster after a few seconds. After successfully publishing our service, we can see our application on the Service Fabric Explorer page, as shown below.
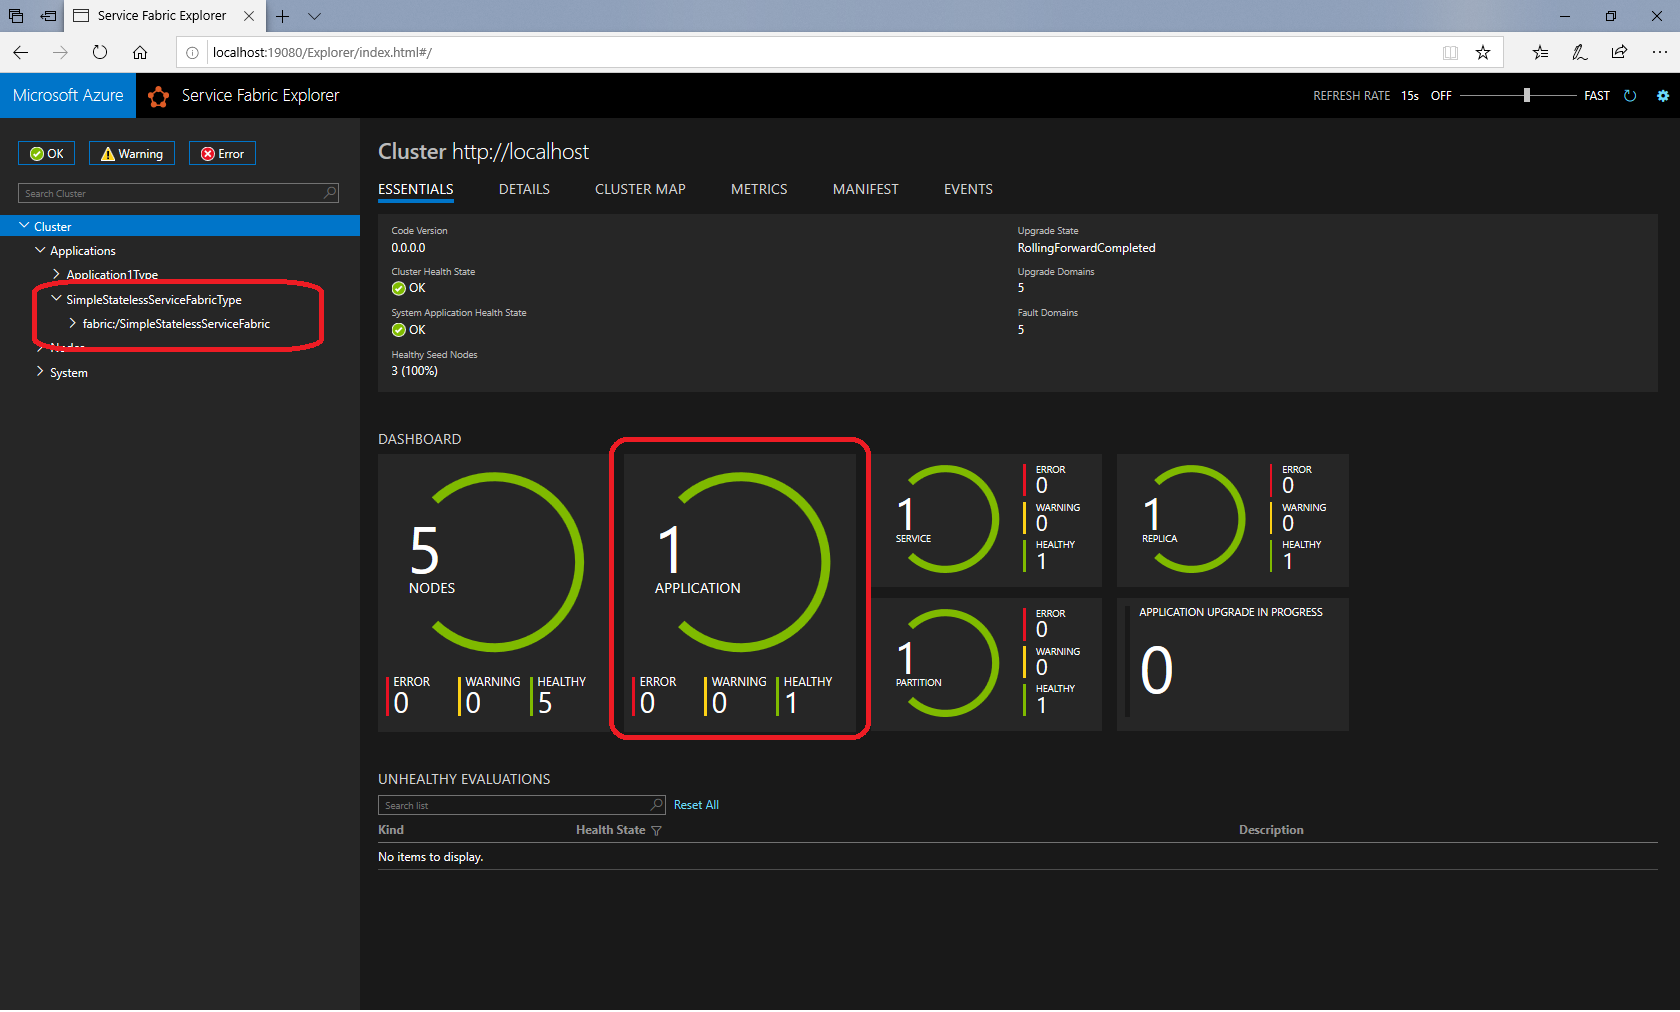
Check the output file at C:\Temp folder, where our service writes the time for every five seconds.

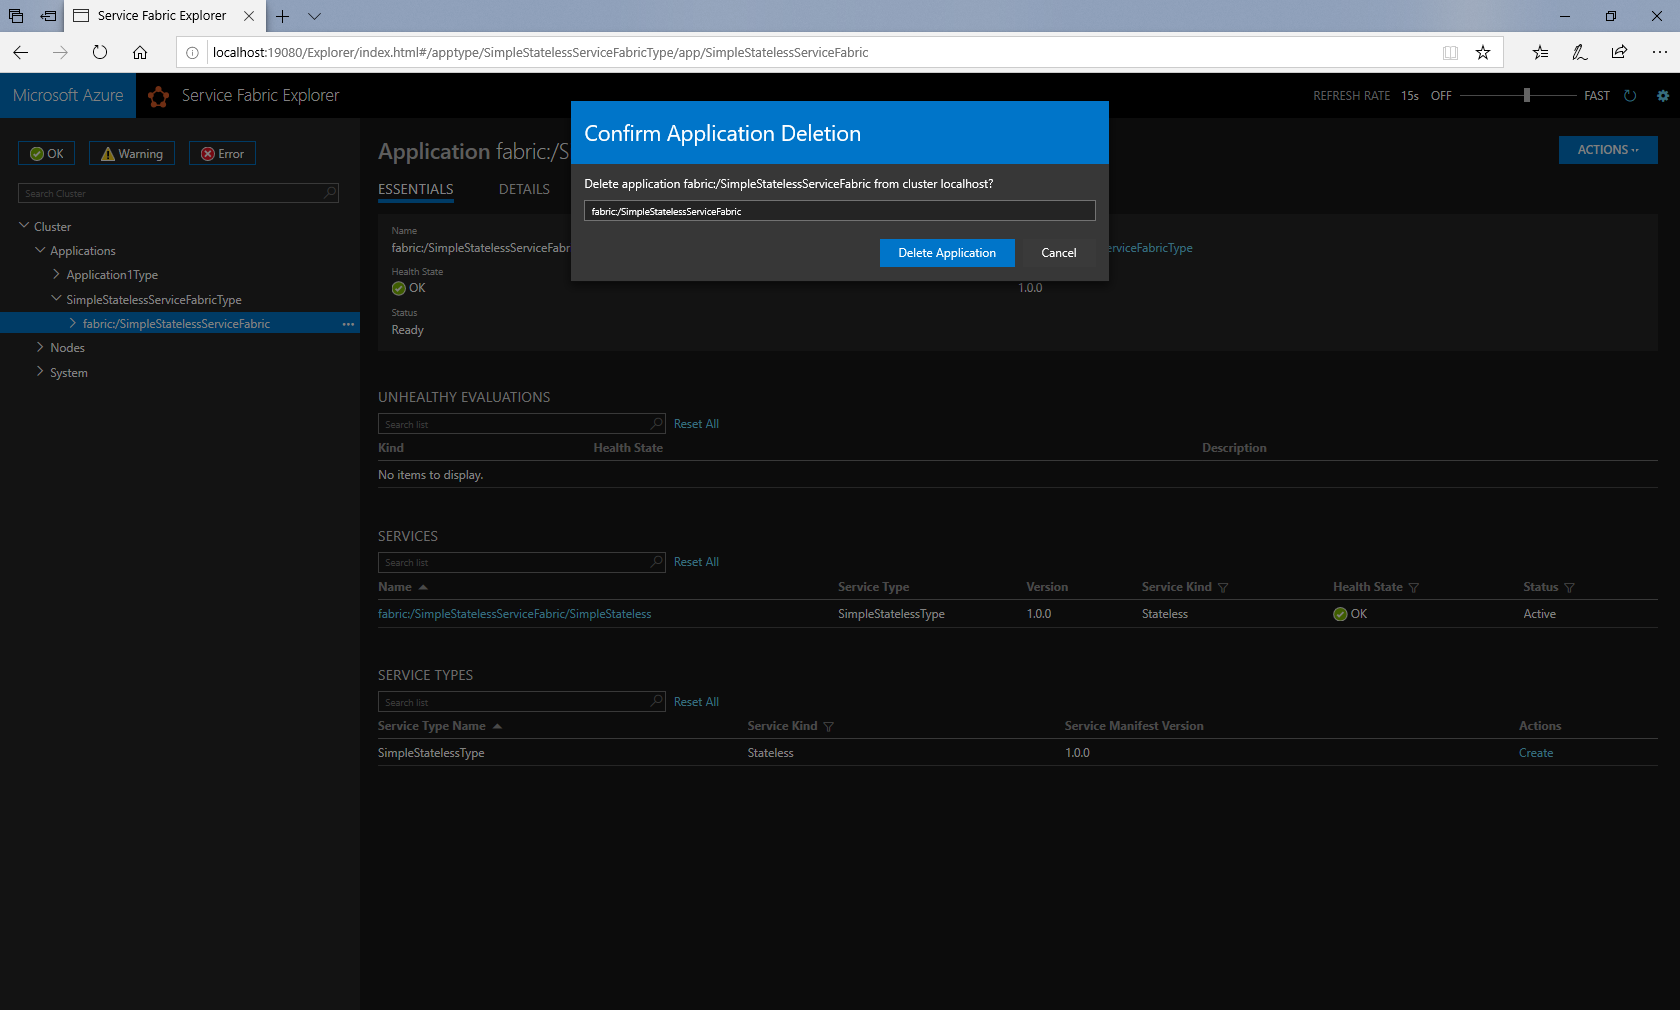
You can delete the application from cluster whenever you want. To delete the application, select your service application under Applications tab on the right side and select “Delete Application” option under the Actions tab on the left side as shown below.

On “Confirm Application Deletion” window type your application name in the textbox and click on “Delete Application”.
After a few seconds, your application will get deleted from the local cluster.
