SiteMapPath Control in ASP.NET
In Asp.Net SiteMapPath control is used to navigate from one page to another page easily. Once you moved to child page you can get back to the parent page easily with the help of SiteMapPath control. We can easily create sitemap with the help of SiteMapPath control in Asp.Net.
Open Microsoft Visual Studio => Create New Asp.Net Web Application and Add SiteMapPath control and SiteMapDataSource control to the page as shown below.
<%@ Page Language="C#" AutoEventWireup="true" CodeBehind="Default.aspx.cs" Inherits="AspNetSiteMapPath._Default" %>
<!DOCTYPE html PUBLIC "-//W3C//DTD XHTML 1.0 Transitional//EN" "http://www.w3.org/TR/xhtml1/DTD/xhtml1-transitional.dtd">
<html xmlns="http://www.w3.org/1999/xhtml">
<head runat="server">
<title></title>
</head>
<body>
<form id="form1" runat="server">
<div>
<asp:SiteMapDataSource ID="SiteMapDataSource1" runat="server" />
<asp:SiteMapPath ID="sitemap1" runat="server">
</asp:SiteMapPath>
</div>
</form>
</body>
</html>
Add web.sitemap file as shown below which is default source for SiteMapDataSource control.
<?xmlversion="1.0"encoding="utf-8" ?>
<siteMapxmlns="http://schemas.microsoft.com/AspNet/SiteMap-File-1.0">
<siteMapNodeurl="Default.aspx"title="Home" description="Home Page">
<siteMapNodeurl="Employee.aspx"title="Employee" description="Employee Page" >
<siteMapNodeurl="Login.aspx"title="Login" description="Employee Login Page" />
</siteMapNode>
<siteMapNodeurl="AboutUs.aspx"title="AboutUs" description="About Us" />
</siteMapNode>
</siteMap>
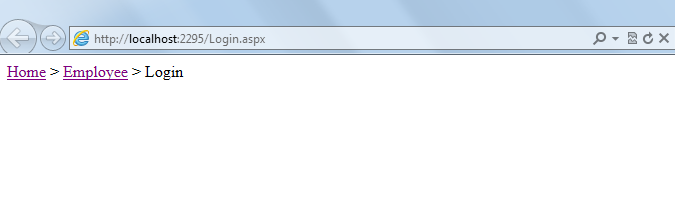
Add SiteMapDataSource and SiteMapPath controls to all pages as we did for Default.aspx page. Now if execute the Login.aspx page the output is as shown below.
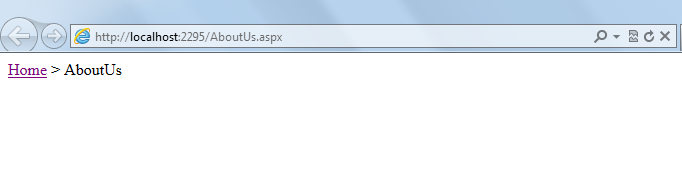
If we execute the AboutUs.aspx page the output is as shown below.