Working with Microsoft Excel Names in VBA
We can name to Ranges, Strings, Arrays, and Tables in Excel. That means if you want to make available any Range globally in the work book, name that Range and use it. Before going to discuss about how to create and manipulate names using VBA, first we will discuss about how to create names in Office Excel.
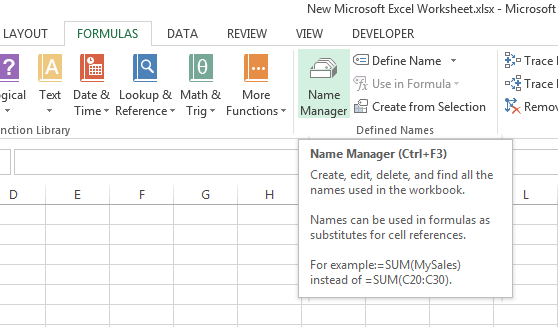
Open Microsoft Office Excel 2013 => select Formulas Tab => you can find “Name Manger” as shown below.
Click on “Name Manger”, it opens “Name Manager” window as shown below.
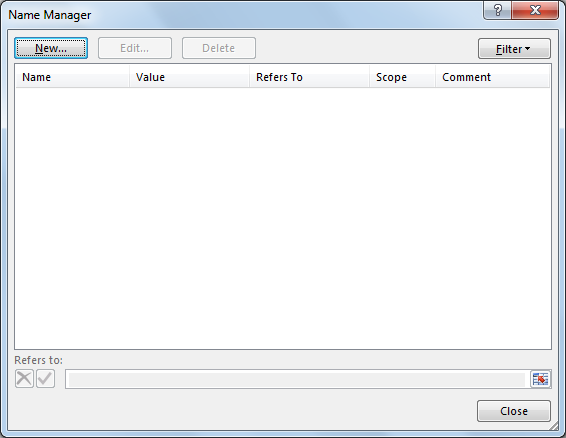
Click on New button to create the Named Ranges, it displays below window where we can create the Named ranges.
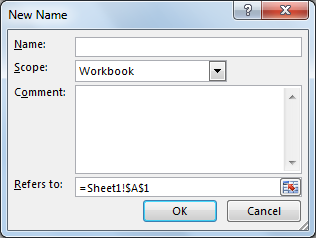
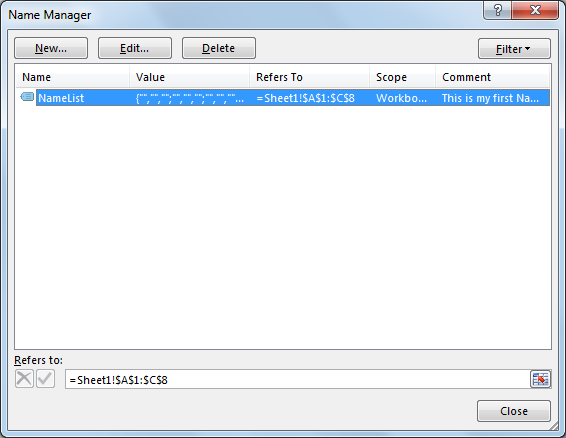
Enter the Name for your Range, select scope as Workbook to make available anywhere in the Workbook which is called Global Name or select Sheet1 to make available only in Sheet1 which is called Local Name. Enter Comment for Named Range and enter Range in the Refers to field. Click on Ok to Create the Named Range. It created the Named Range and displays in Name Manger window as shown below.
In the same way we can create the Names for Ranges programmatically by using VBA. Add one Command Button through DEVELOPER option and for button click add below code.
Private Sub CommandButton1_Click()
Range("A1:C9").Name = "Sheet1!EmployeeList"
End Sub
Above code creates Named Range EmployeeList in Sheet1 level, that means EmployeeList is available within Sheet1 only. Below code creates EmployeeList named range at work book level.
Private Sub CommandButton1_Click()
Range("A1:C9").Name = "EmployeeList"
End Sub
We can rename the existing named range also as shown below.
Private Sub CommandButton1_Click()
Names("EmployeeList").Name = "NewEmployeeList"
End Sub
Above code renames the EmplyeeList named range to NewEmployeeList on button click, so EmployeeList no longer exits.
We can delete the Named Range by using Delete property of Names as shown below.
Private Sub CommandButton1_Click()
Names("EmployeeList").Delete
End Sub
Add comment to the Named Range by using Comment property as shown below.
Private Sub CommandButton1_Click()
Names("NewEmployeeList").Comment = "This is the Employees list"
End Sub
Sometimes we may have requirement like not to display the Named Ranges to user. For this we can hid the named ranges by using Visible property as shown below.
Private Sub CommandButton1_Click()
Names("NewEmployeeList").Visible = False
End Sub
If you want to make hidden named range visible to user just change Visible property to True as shown below.
Private Sub CommandButton1_Click()
Names("EmployeeList").Visible = True
End Sub
