2D Transforms in WPF
WPF contains built in 2D Transform classes which enables you to changes the position of the elements. These transform classes derived from System.Windows.Media.Transform namespace. WPF contains two types properties in Transforms which are applicable to all FrameworkElements, those are LayoutTransform and RenderTransform.
By using LayoutTransform we can apply the transform before the element layout finishes whereas with RenderTransform we can apply transform after element layout finishes and before it renders. In this article we will discuss about both these transforms with examples.
LayoutTransform:
As we discussed with the help of LayoutTransform we can change the position of the element before its layout finishes. That means element position will apply immediately, it will not wait until the element layout finishes. We will check this with simple example.
Open Microsoft Visual Studio 2013 => Create WPF application and below code.
<Window x:Class="WpfApplication1.MainWindow"
xmlns="http://schemas.microsoft.com/winfx/2006/xaml/presentation"
xmlns:x="http://schemas.microsoft.com/winfx/2006/xaml"
Title="MainWindow" Height="350" Width="525">
<Grid>
<Button Width="200" Height="50" VerticalAlignment="Top">
Top
</Button>
<Button Width="200" Height="50" VerticalAlignment="Center">
<Button.LayoutTransform>
<RotateTransform Angle="50"></RotateTransform>
</Button.LayoutTransform>
Center
</Button>
<Button Width="200" Height="50" VerticalAlignment="Bottom">
Bottom
</Button>
</Grid>
</Window>
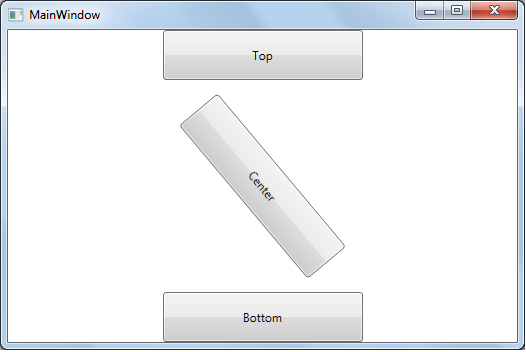
As shown above we apply the LayoutTransform for second button with 50 degree angle, so it pushes the bottom button and occupies the place as shown below.
RenderTrasform:
RenderTransform also will transform the elements, but it positions the elements after all elements layout is finished and before the element renders. With the help of RenderTransform we can position the element after all layout finishes, let’s check with simple example.
Write below code and executes in Microsoft Visual Studio 2013.
<Window x:Class="WpfApplication1.MainWindow"
xmlns="http://schemas.microsoft.com/winfx/2006/xaml/presentation"
xmlns:x="http://schemas.microsoft.com/winfx/2006/xaml"
Title="MainWindow" Height="350" Width="525">
<Grid>
<Button Width="200" Height="50" VerticalAlignment="Top">
Top
</Button>
<Button Width="200" Height="50" VerticalAlignment="Center">
<Button.RenderTransform>
<RotateTransform Angle="50"></RotateTransform>
</Button.RenderTransform>
Center
</Button>
<Button Width="200" Height="50" VerticalAlignment="Bottom">
Bottom
</Button>
</Grid>
</Window>
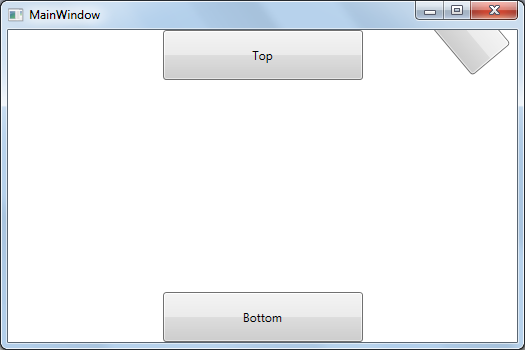
As shown above we apply the RenderTransform for the center button, run the application it displays the output as shown below.
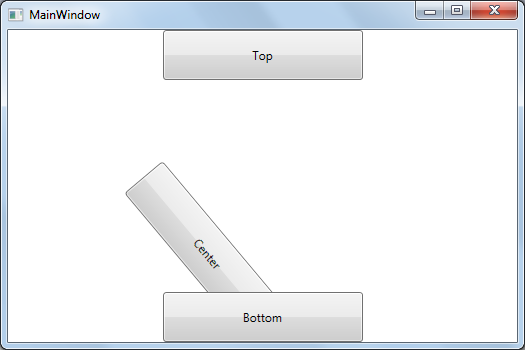
As shown above, the center button positioning after all elements layout finished that’s why bottom button is coming on the center button.
RenderTransformOrigin: RenderTransformOrgin is used to set the element position while applying the RenderTransform. It can be set to System.Windows.Point where (0,0) is the default value. You can set any value for RenderTransformOrgin, (0,0) represents top-left corner, (0,1) represents bottom-left corner, (1,0) represents top-right corner, and (1,1) represents bottom right corner. You can set values greater than 1 also.
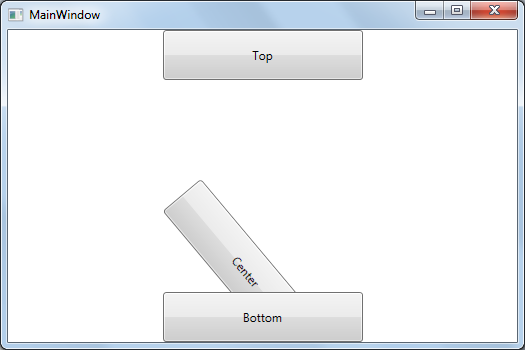
Elements with RenderTransformOrgin (0,0) displays as shown below.
<Window x:Class="WpfApplication1.MainWindow"
xmlns="http://schemas.microsoft.com/winfx/2006/xaml/presentation"
xmlns:x="http://schemas.microsoft.com/winfx/2006/xaml"
Title="MainWindow" Height="350" Width="525">
<Grid>
<Button Width="200" Height="50" VerticalAlignment="Top">
Top
</Button>
<Button Width="200" Height="50" RenderTransformOrigin="0,0" VerticalAlignment="Center">
<Button.RenderTransform>
<RotateTransform Angle="50"></RotateTransform>
</Button.RenderTransform>
Center
</Button>
<Button Width="200" Height="50" VerticalAlignment="Bottom">
Bottom
</Button>
</Grid>
</Window>
Output:

Elements with RenderTransformOrgin (0,1) displays as shown below.
Elements with RenderTransformOrgin (1,0) displays as shown below.
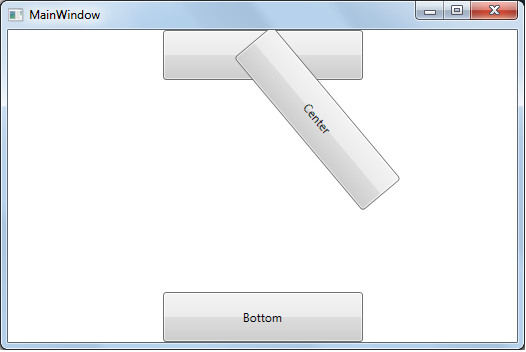
Elements with RenderTransformOrgin (1,1) displays as shown below.

Elements with RenderTransformOrgin (2,2) displays as shown below.
There are five types of built-in 2D Transforms in WPF, we will discuss about built-in Transforms in my next article.
