Create Simple Service Fabric Asp.Net Core MVC Web Application
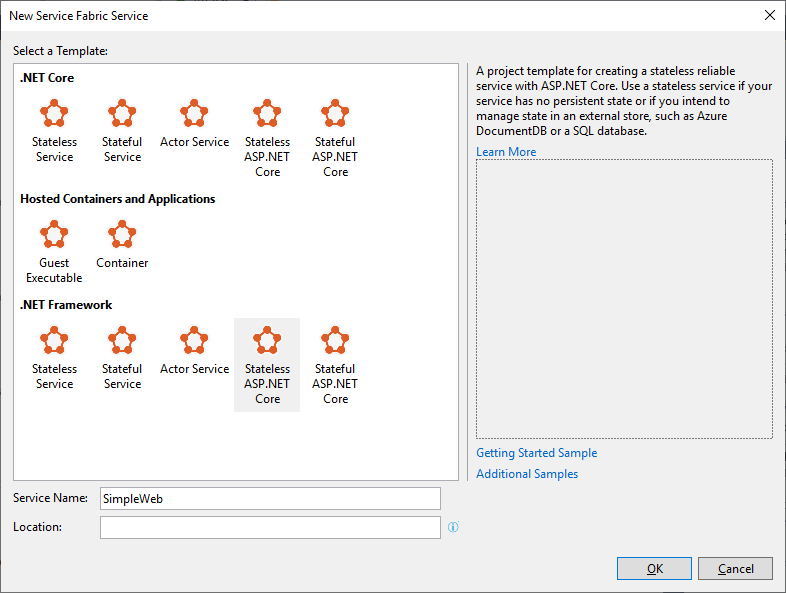
Today we discuss how to create service fabric Asp.Net MVC web application and deploy to the local cluster. Open Microsoft Visual Studio 2019 => select New Project => select Service Fabric template and name it as ServiceFabricAspNetCoreWeb, select Stateless ASP.NET Core as shown below.
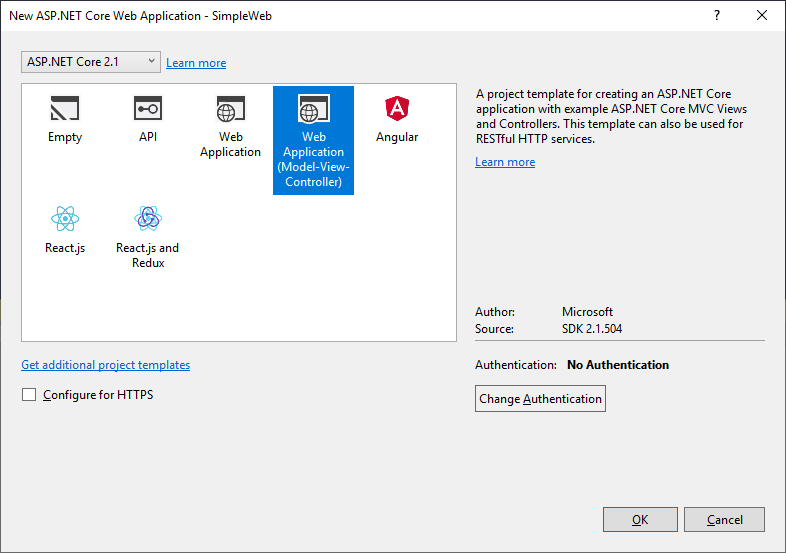
Select Web Application (Model-View-Controller) to create Asp.Net MVC application.
Run the application from Visual Studio by pressing F5; it displays output, as shown below.
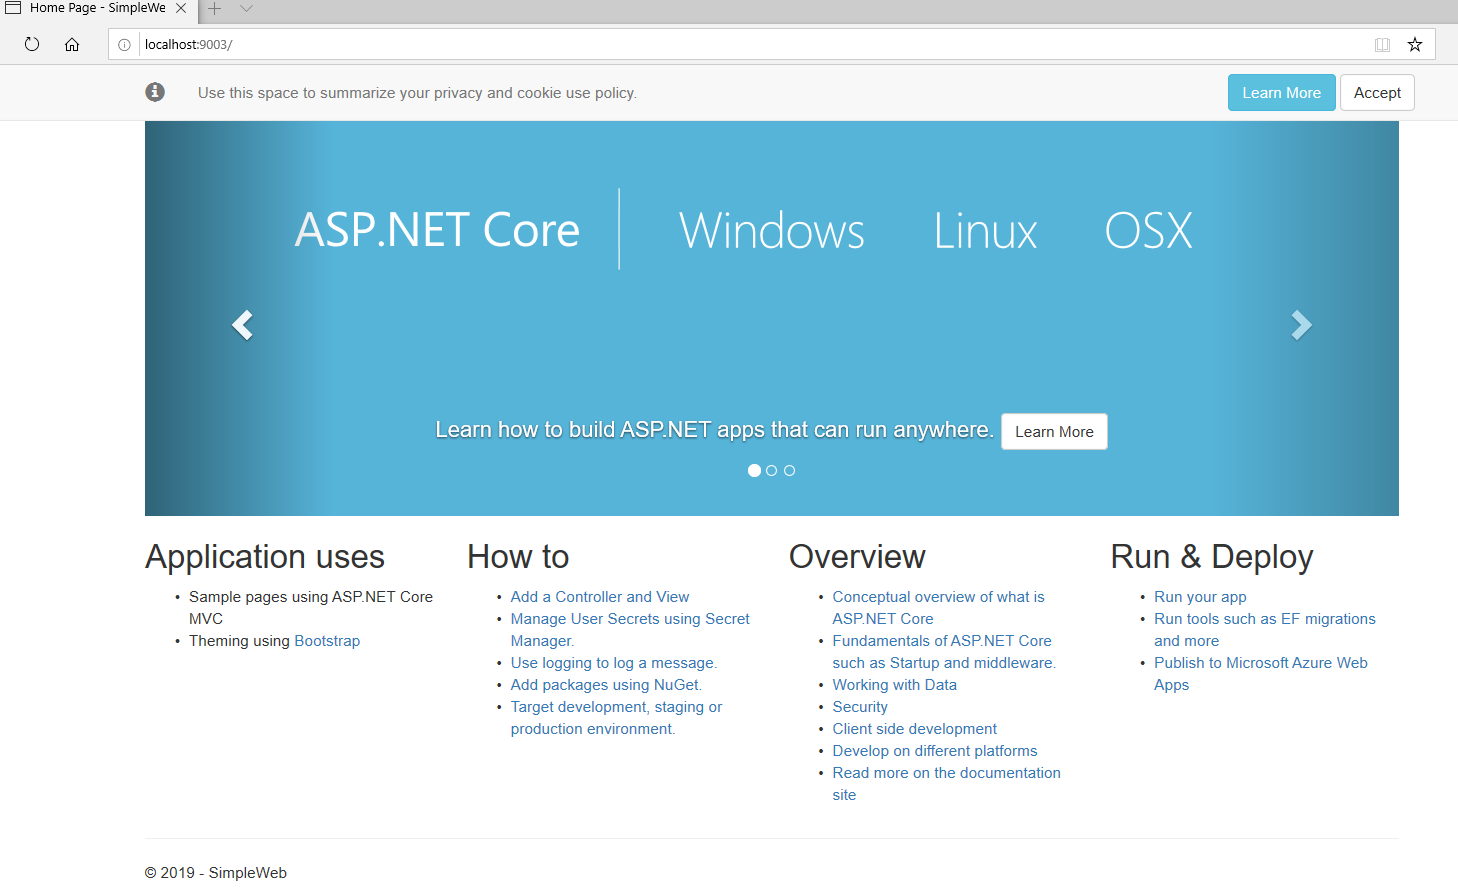
You can see the application is running on 9003 port. If you want, we can change the port number in ServiceManifest.xml file Endpoint.
  <Resources>
    <Endpoints>
      <!-- This endpoint is used by the communication listener to obtain the port on which to
           listen. Please note that if your service is partitioned, this port is shared with
           replicas of different partitions that are placed in your code. -->
      <Endpoint Protocol="http" Name="ServiceEndpoint" Type="Input" Port="9003" />
    </Endpoints>
  </Resources>
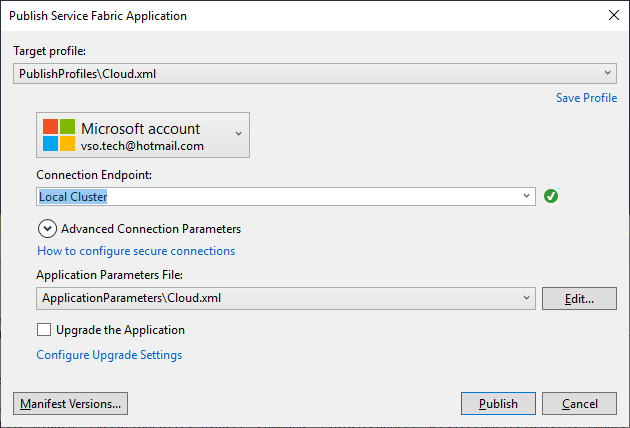
Let’s publish the application to local cluster. Right click on ServiceFabricAspNetCoreWeb and select Publish. Select Local Cluster in Connection Endpoint and click on Publish button. It takes couple of minutes to get it published to local cluster.
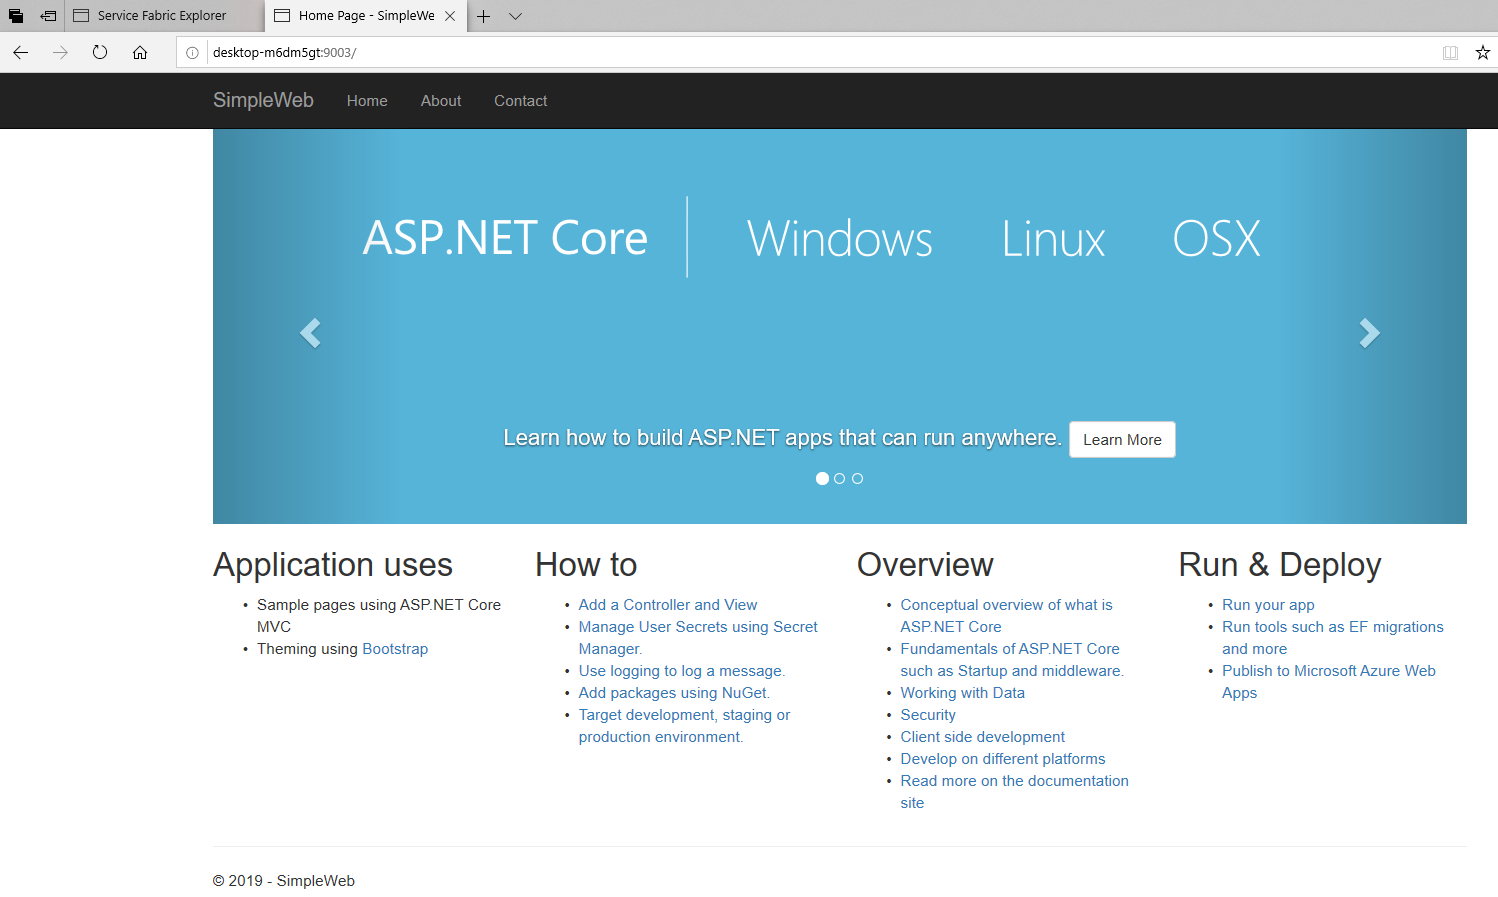
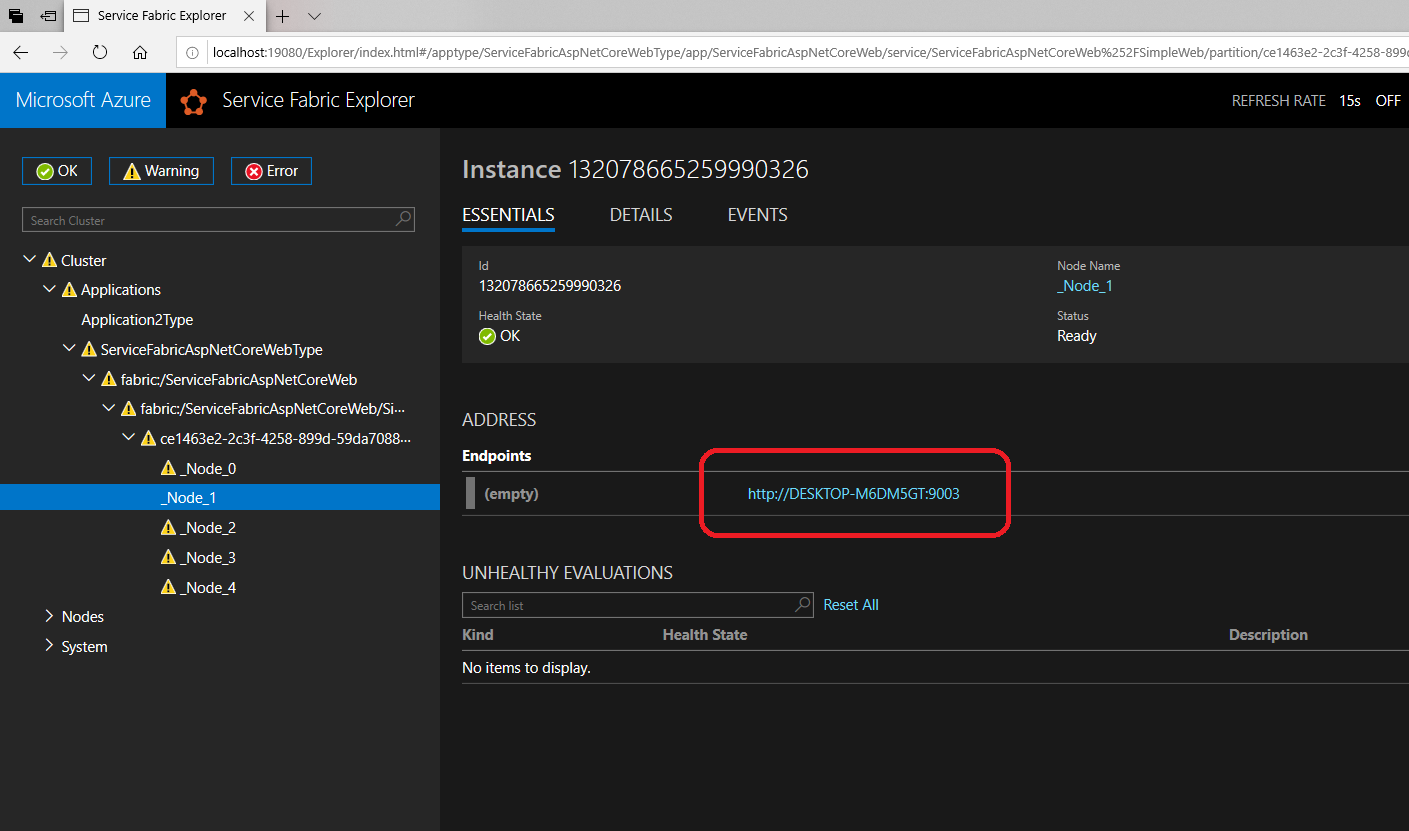
Select Manage Local Cluster (visit my previous article https://techinfocorner.com/post/simple-service-fabric-stateless-application for more details on local service fabric cluster); it displays the application under Node_1 (it can differ on your machine) as shown below. You can find the path of the application under ADDRESS right-side, on my machine path is http://DESKTOP-M6DM5GT:9003 as shown below.
Browse http://DESKTOP-M6DM5GT:9003; you can see the output same as when you run it through visual studio.